


[This post was originally published on 10th June 2020. It has been updated on 29th March 2023.]
Every marketer who uses Marketo will agree with the fact that no matter how much hands-on training they get, there are times when they fail to make the most of the tools in Marketo which might save a lot of time, energy, and resources.
Marketers use and re-use text and graphic content in emails and landing pages when they are sending and re-sending updates. They make hundreds of changes which might be difficult for the whole team to catch up with and even more confusing to keep a track of what has changed. This is where snippets in Marketo come into action.
Especially during this pandemic situation, every day there is some new change and update, be it regarding lockdown norms, the number of cases of COVID-19, or the development in healthcare. When incorporating these changes in your email sends and keeping your team and subscribers updated with the right information is vital, snippets will help you nail your email marketing goals and help keep your Marketo email templates consistent. Let’s see how.
What are Marketo Snippets?
As a marketer, if you are familiar with Marketo’s automation tools, you would know that their concept is quite forward and simplifies complex marketing activities. Snippets are technically nothing but a block of HTML that might have text, graphics, logos, social media icons or even Marketo tokens. These blocks of content can be used, re-used and modified in emails and landing pages. The concept of snippet is ‘one change- multiple impacts.’
Some information on our website or emails is required to remain consistent throughout. For instance the contact details of our headquarters, names of expert developers for hire, social media links, and so on. Now, these details are needed to be consistent but when changed have to be changed all over.
For instance, the logo of your brand added as a snippet is used in your website and emails and is consistent all over. If the logo is re-designed, and the change has to be applied for all the logo placements, making the changes in the snippet itself would suffice. The main goal of snippets is to maintain consistency in information and changes made in that information across your Marketo guided templates.
When can you use Snippets?
One of the prime scenarios where you can use snippets is when you aim to control, scale updates, and modify variations of updates. Remember these points while applying snippets for your next campaign. You can observe them across the best email snippet examples out there.
- Snippets are amazing to be used for blocks of content as mentioned earlier, like contact information, social media links and so on, that needs to be standardized
- These standardized contents need to be substituted for another with multiple variations e.g. contact information, executive bios, branding element, and so on
- To replace any text or a graphic-rich area prone to long term or short term changes


Header snippets
Snippets are mostly used in headers and footers to create logos and information lockups. If a website has a dozen other branches, maybe with a small variation of the same logo, it can all be monitored and controlled from a single snippet folder.
Creating a snippet “library” of all the approved logo designs and dynamic content will make sure the content is up to brand standards and guidelines. Marketo has options to set guidelines for the logo sizing and other aspects, so having the snippets centrally managed helps in that too.


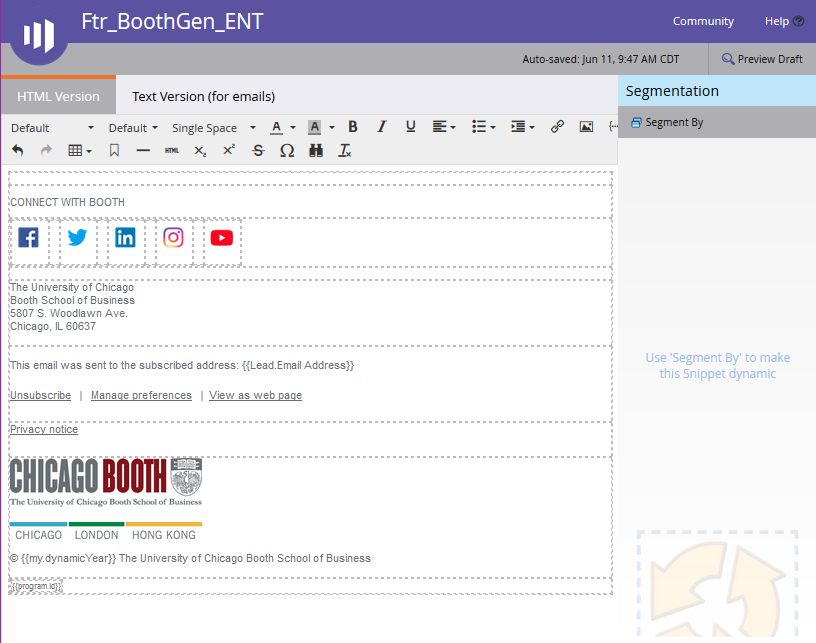
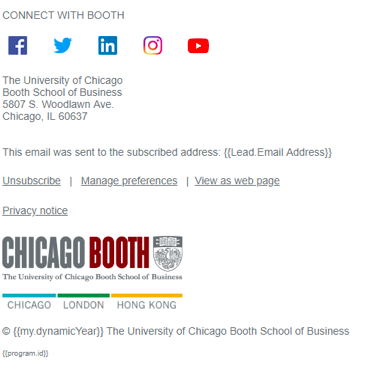
Footer Snippets
Snippets can be used in footers as well to keep information provided in the footer consistent and up to the brand standards. Information like privacy guidelines, unsubscribe option in emails, the license details, or social media links are generally provided in footers. All of these elements can be replaced by snippets.


Three simple steps to using Snippets
Segmentation

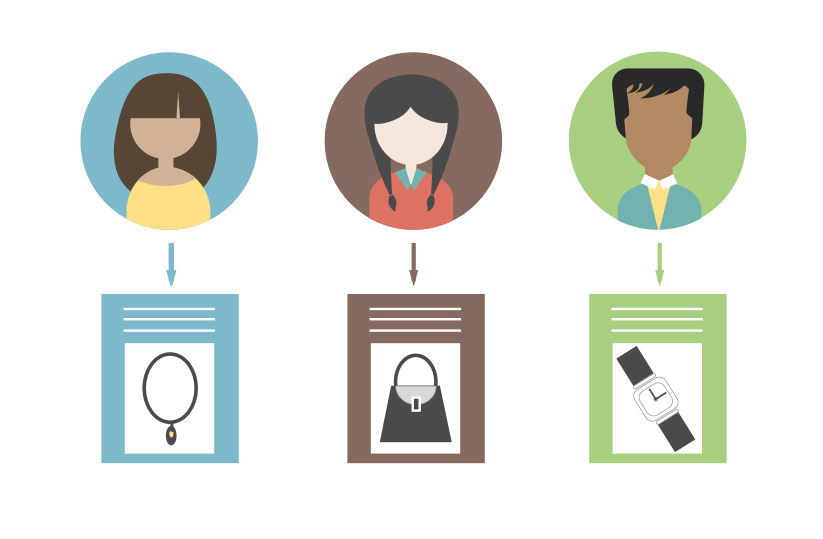
It is important to segment your snippets according to the audience. Segmentation is very important to customize your customer experiences as well as know your audience. Email and landing page segmentation will help you trigger the right content for your audience.
A customer in Florida visiting your website and someone in Arizona visiting your website should be leveraged with information that is relatable to each of them. In this case, you need to segment before creating the snippet for regional office information for both these regions. Keep in mind, Marketo only allows 100 segments for each segmentation.
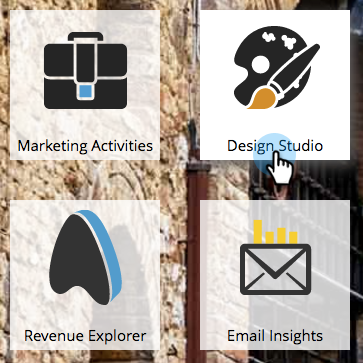
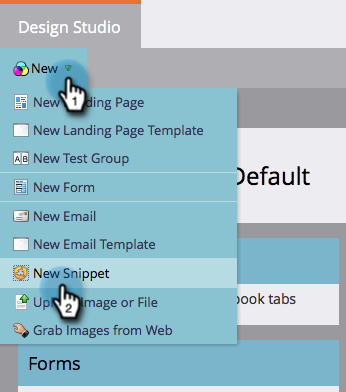
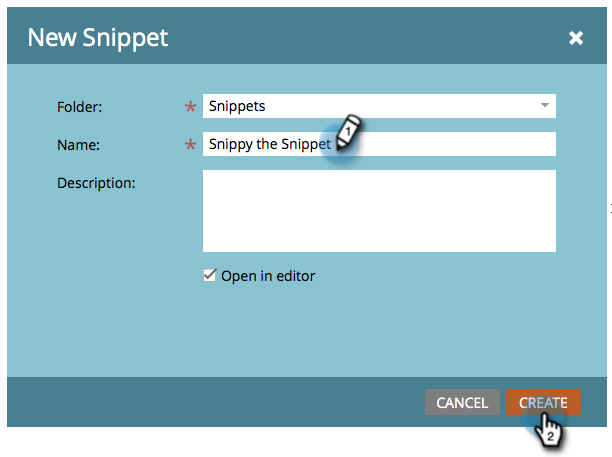
Creating snippets
Once segmentation is done, the next step is to create snippets in the Marketo Design studio and then to add it to your email marketing assets.


Snippet Control
Marketo Snippets have a standard asset control pattern that allows the approval, unapproved, discarding, and cloning of snippet drafts.
- For a snippet to be approved, it must be added to the drafts.
- In the same way, only a snippet that is approved can be unapproved.
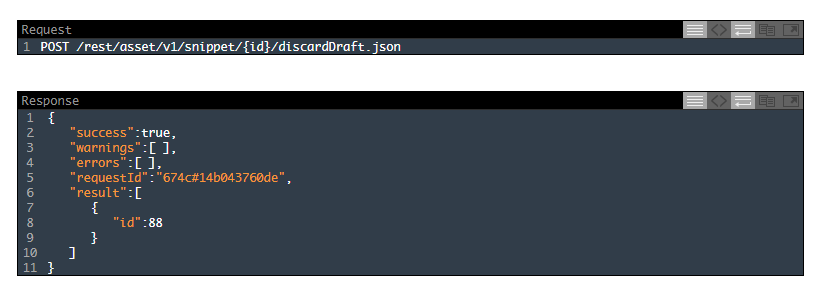
- For a snippet to be discarded, it has to be in the draft status as a snippet that is already approved, cannot be discarded.

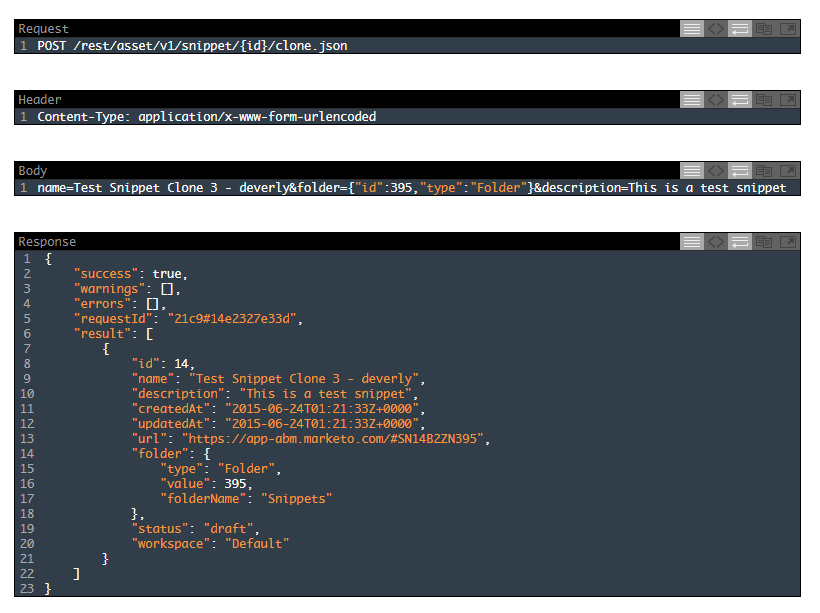
- A snippet can be cloned with the name, id, and snippet folder as it follows the standard pattern. Snippets can also be cloned with the drafts in the absence of an approved snippet.

Adding Snippets to email
Before you add a snippet to an email, remember the snippet should be HTML+TEXT (body content). Marketo email syntaxes cannot be embedded in emails.
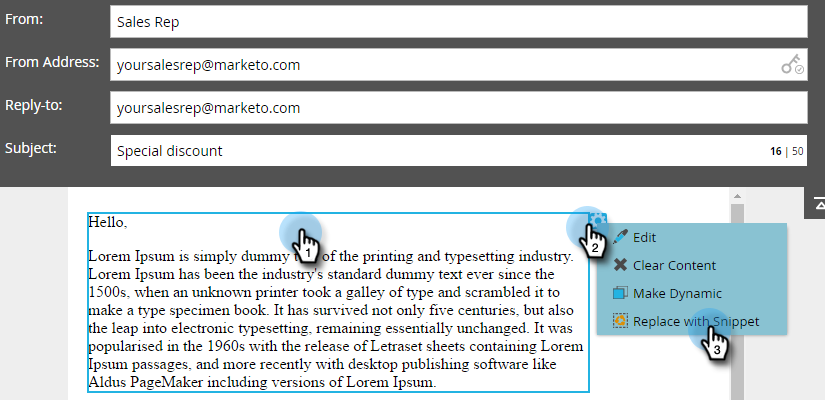
An approved snippet can be embedded by replacing the text-rich content.

#Pro Tip
Be sure to update both the snippet and text version while making changes to a snippet as it wouldn’t carry over the edits unlike in an email asset.
Wrapping It Up
From dynamically changing content according to the subscriber’s location to making changes to the logo across all text blocks, Snippets are a revolution in email marketing automation. They not only have reduced the workload of email marketers who would have had to manually incorporate changes across websites and Marketo guided templates, but have also made it possible to leverage relevant content triggered by the consumer’s preferences and behavior patterns.
We hope this blog has given you some insight into how Marketo Snippets work. We encourage you to apply some techniques mentioned in this blog in your next COVID-19 campaign or your summer email marketing campaign, and let us know your experience of implementing snippets in your automation.