


“Welcome to Mars!”
The first email you send to a new subscriber may not start with such a startling greeting.
But even with something simple like…
“Welcome!”

or
“Congratulations on joining us!”

…you’ve already accomplished a challenging task — getting a willing participant to sign up for your email marketing campaigns.
A welcome email campaign is an effective way to introduce subscribers to your brand, and lay the foundation for a deep, meaningful relationship right from the beginning.
With Salesforce Marketing Cloud (SFMC), it’s pretty straightforward to set up and execute welcome email campaigns. We have created this guide to help you and your SFMC specialist set up a memorable welcome email in SFMC.
Ready to get started?

The 3 Types of Welcome Emails You Can Create in SFMC
Make a great first impression and engage with subscribers in the long term by creating different types of welcome emails in SFMC.
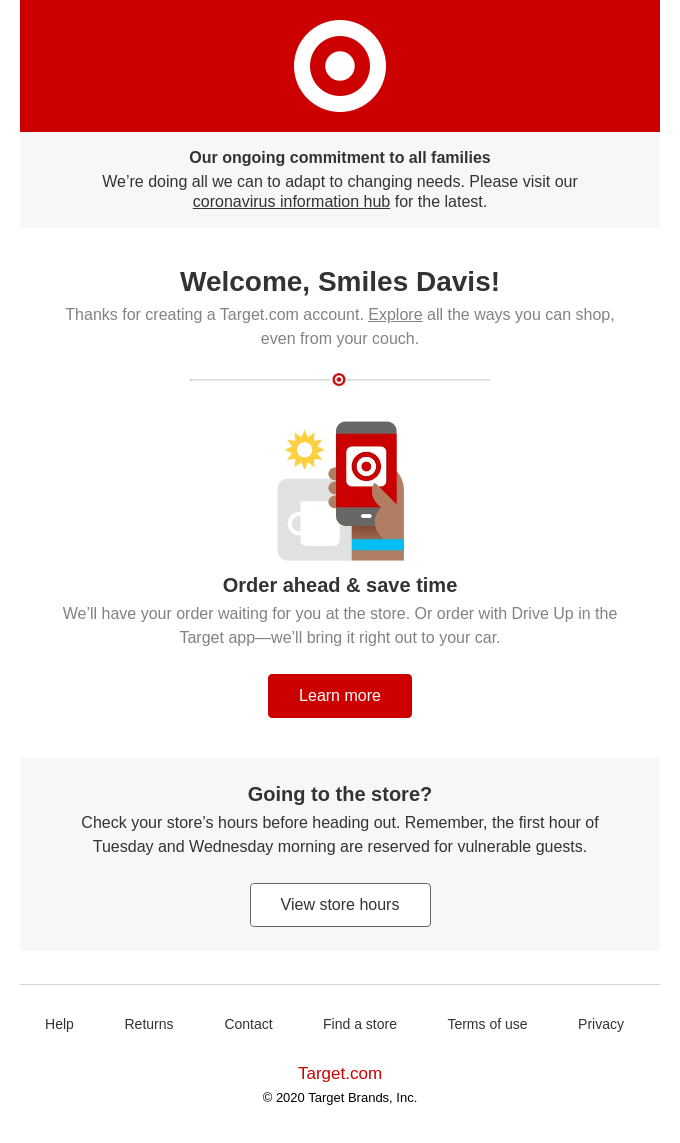
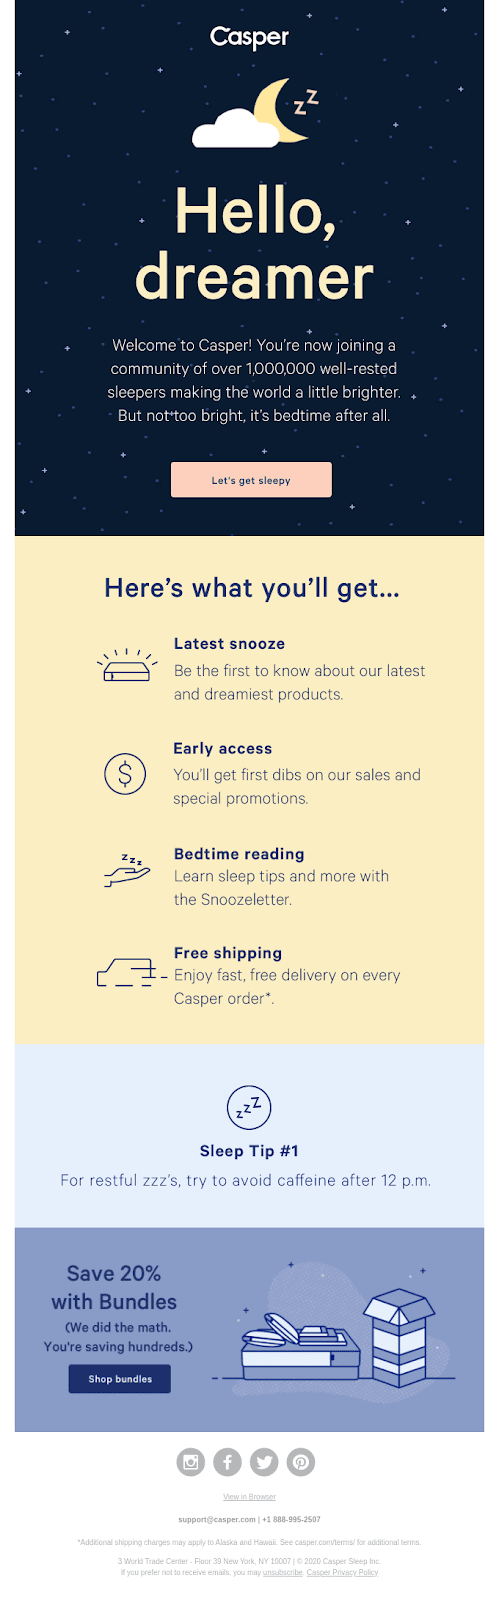
1. Thank you or Welcome
This is a simple yet sincere way of acknowledging and welcoming subscribers to your brand.

Some tips:
- Personalize the greeting with the recipient’s name
- Focus on gratitude and information rather than asks
- Keep the structure simple and easy to read
- Don’t over-stuff it with content
- Send it immediately


2. Event invites
With this kind of welcome email in SFMC, you can offer new subscribers the opportunity to interact with your organization to increase their interest from this early stage.
Here are some events you can invite new subscribers to:
- Information sessions
- Fundraising events
- Program activities
- Webinars
- Meet-and-greet with industry experts
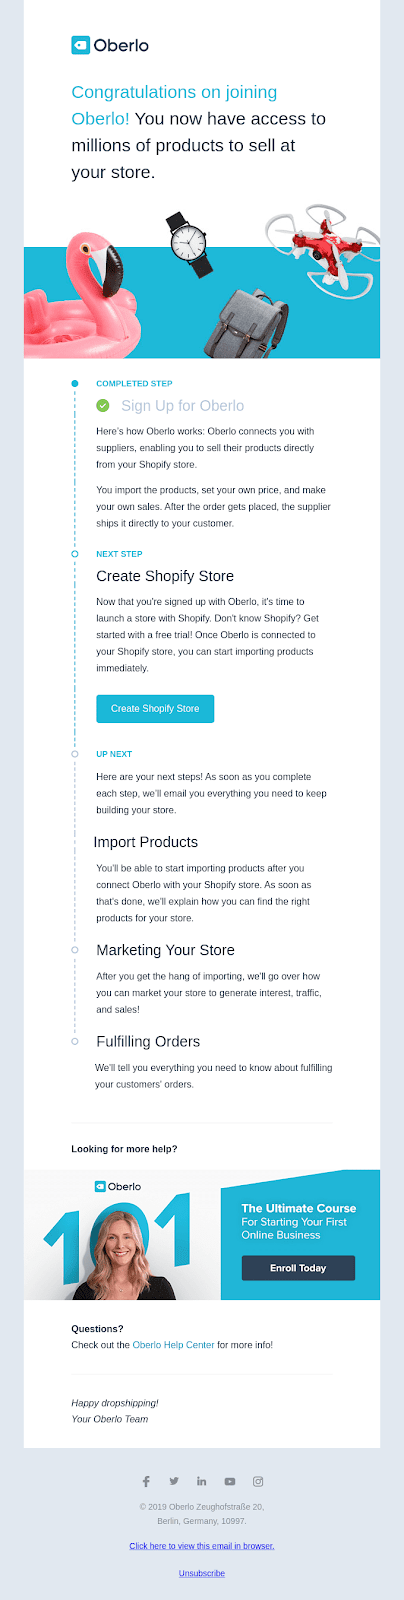
3. Sign-up offers

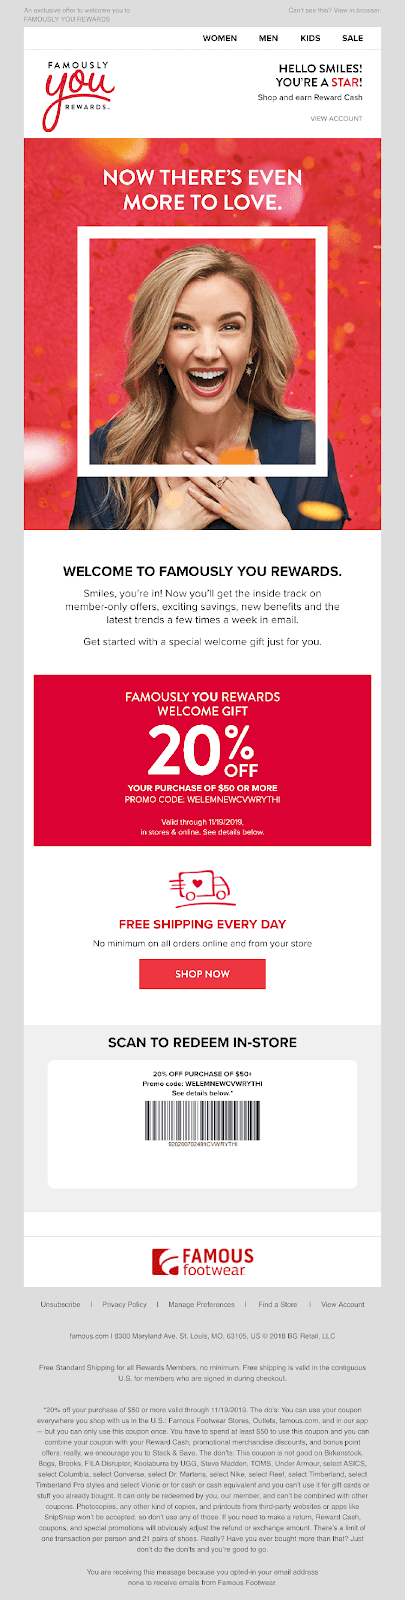
This is an effective way to encourage new subscribers to engage with your brand to increase their comfort level and boost your sales. Win-win!
Useful tips:
- Communicate value and validity clearly
- Use graphics and photographs instead of lots of text
- Use clear, unambiguous CTA so the subscriber knows exactly what to do next
- Include Unsubscribe and Terms of Use links in the email body
The 4 Key Elements of an Effective Welcome Email in SFMC
It’s not enough to simply send Welcome emails. It’s also important to keep in mind four critical factors that heavily influence their success.
1. Timing


SFMC enables you to send a welcome email based on entry “triggers” like first-time eCommerce purchase, newsletter registration, etc. To quickly create your welcome email campaign, use SFMC’s preconfigured content framework and an SFMC template.
Choose the timing of your welcome emails carefully, even if you create a series. Keep a 7-day interval between each email so you don’t overwhelm your subscribers. Ideally, wait until the welcome series is complete with a new subscriber before sending them other emails like newsletters or “drip” campaigns.
2. Journeys
Consider your welcome campaign the first step in your customer’s journey with your brand.
Use Journey Builder in SFMC to improve the customer experience by expanding from a single email to a series of messages.
Example: After completing an online purchase, a customer receives a thank you email with a link to set up notifications. A second email encourages them to finish filling out their profile. A third email asks them to follow the company’s social media feeds.
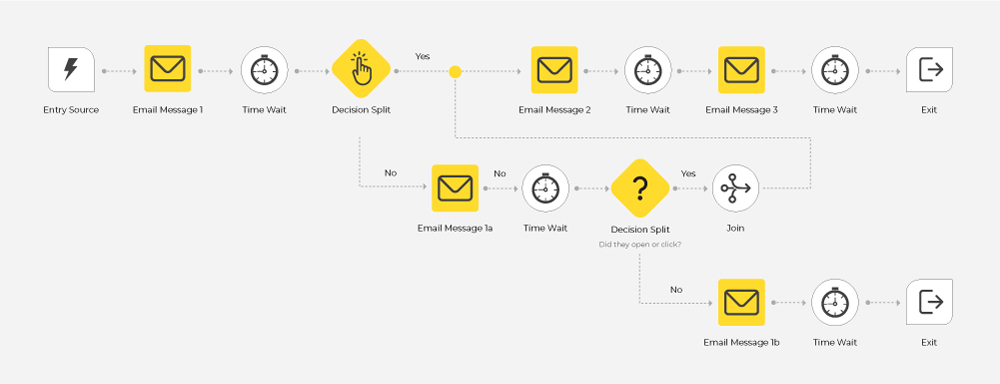
Here’s what such a journey might look like, starting with a welcome email:


The above “ Welcome Series” template uses a data extension entry source to start the journey and create a timed sequence of emails to promote a feature or service. You can also set up “Engagement Splits” to customize your welcome email journey based on customer engagement actions such as opens, bounces or clicks.
Here’s what your welcome email journey might look like with Engagement Splits:

3. Personalization
Personalized emails deliver 6X higher conversion rates over generic messages.
Personalization is a great way to build meaningful relationships with your subscribers. And when you focus on personalization right from the get-go, they tend to think, “This brand cares about me as an individual.”
Start by knowing some basics about them. One way is to collect information about them, e.g. their name, birthday (or age), gender, interests, etc. from a sign-up form, say, on your website. Then use this information to tailor the content in your welcome email. Make sure you don’t frighten them off with a complicated or extensive sign-up form. For an initial sign up, stick to the basics. Later, you can guide them to a preference center to fill out more detailed information.
Content personalization is a breeze with SFMC. With Einstein AI, you can create tailored content based on individual user behaviors, essentially creating a “segment of one”. You can also access rich first-party, real-time data, and create “dynamic content” to scale personalization across your welcome campaigns. And then once you build your welcome message, you can automate it to save time. You can even review asset-level metrics to refine your welcome email content over time.
4. Design
Nowadays, when mobile devices have overtaken desktops as the most popular email reading environment, creating mobile-optimized designs is critical.
With SFMC, creating mobile-optimized designs for welcome emails is easy. Select from a bunch of responsive SFMC templates so your emails always appear exactly as you intended — whichever device they’re opened on.

Source
You should also create both HTML and plain-text versions of welcome emails. In HTML emails, you can add images, animated GIFs, videos, social media links, etc. But plain-text emails are critical if your subscribers live in areas of low Internet speeds.
Some design tips:
- Add ALT text to every image and button
- Ensure your copy fits well on a mobile screen
- Use short subject lines
- Make it easy to scroll and navigate
- Test all links, images and buttons to ensure they load properly on mobile
- Show clear CTA text, ideally above the fold
- Include lots of white space
How to Send a Welcome Email in SFMC Email Studio
In SFMC Email Studio, the “Welcome Email” feature allows you to automatically send a welcome email when a subscriber subscribes to a list via the standard Subscription Center or Web Collect. Welcome email sends use the default “transactional send” classification.
You can assign a welcome email when you create a list, so you need to create the email before the list.
To assign a Welcome email to a list and manage it from list properties:
1. Select the list to assign a welcome email to. You can also assign a default welcome email to the All Subscribers list. If a subscriber subscribes to a list that doesn’t have a welcome email, the All Subscribers welcome email is sent instead.
2. Click Manage Welcome Email.
3. Select Send welcome email.
4. Click Select.
5. Navigate to the email you want to select. Click OK.
6. Click Save.
Or you can assign the welcome email later by using Manage Welcome Email.
To create a Welcome email in SFMC Email Studio Content Builder:
1. In Content Builder, click Create.
2. Click Email Message.
3. In Define Properties, choose a creation method and complete the fields
Template: Choose a standard SFMC template
HTML: Paste your custom HTML code
Text Only: Create from text only. You can also use a code snippet
Existing email: Use a Classic or Content Builder email if you have one saved already
4. Define Email properties. Enter text in the required fields. Hit Save or Next.
5. Select Next.
6. In Add Content, build your email, and click Next.
7. Preview and test your email, then Save.
8. To send your email, use Email Studio Send Flow.
To create a Welcome email template in SFMC Email Studio Content Builder:
1. Click Create.
2. Hover over Template.
3. Select a template type. When creating from an existing template, select the template to start creating from and click Select.
4. Save the template.
5. Complete all required fields.
6. Add content to the email, and save the email.
Best practices to create welcome emails:
- Update content blocks with relevant content for your email and brand
- During the Add/Edit Content step, save an email as a template for future use, especially for repetitive content
- Preview and test emails before live sending
- Set up a test audience to include multiple subscribers and attributes to preview emails
Wrap up
Take the first step towards a rewarding journey with your subscribers with a professionally-designed welcome email in SFMC. By leveraging the power of automated triggers, Einstein AI, Content Builder, and a host of other features, you can surely make a great first impression and keep them coming back for more! If you’re still unsure about how to get started, our SFMC specialist can help.