


Microsoft Outlook, an email client, is not designed for email marketing per se. Generally, most brands prefer advanced email service providers (ESPs) for that.
However, organizations across various industries use Outlook as part of their email marketing toolkit. Microsoft Outlook offers:
- The comfort of familiarity
- Good contact management
- Basic personalization
- Calendar integration
We, too, use Outlook email template design for many clients in conjunction with sophisticated ESPs, joining the 75 million Microsoft 365 users who rely on Outlook for various tasks.
In this guide, we’ll explain the steps to create email templates in Outlook, both for the web and desktop versions. Let’s roll!
- Create An Email Template in Outlook (Web)
- Create An Email Template in Outlook (App)
- Limitations of Microsoft Outlook
Create an Email Template in Outlook (Web)
Follow these steps to create an email template in Outlook (web version):
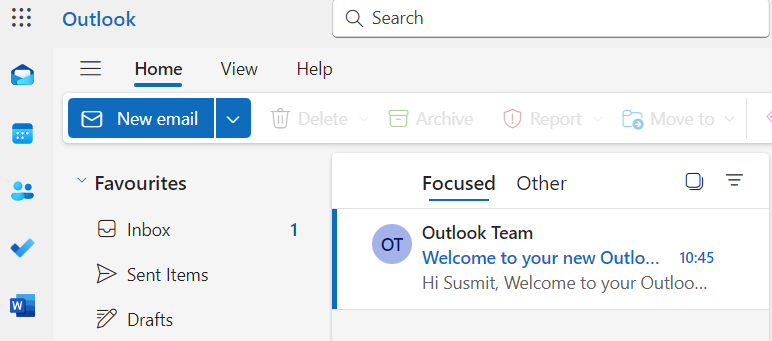
1. Log in to MS Outlook
Log in to your Microsoft Outlook account. Once signed in, select New email in the top-left corner, as shown in the following image.

2. Select ‘My Templates’
Go to Insert. Select Apps on the ribbon. From the dropdown, select My Templates as shown here.


3. Add Your Templates
Click on My Templates. Then, on the right-hand side of the screen, you will see the Add Template option in the My Templates menu.

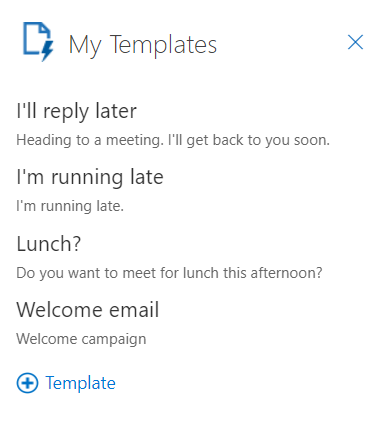
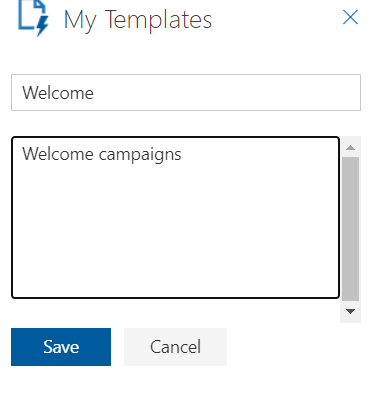
Click on the Add Template button to open a popup requiring you to enter the title and type of your template. Once you’re done setting up your template, click Save.

4. Edit Formatting Styles
The web version of Outlook lets you customize the appearance of your emails. You can:
- Edit the font size, style, and color of your text
- Select from Bold, Italics, and Underline; use numbering and bullets as needed
- Apply contrasting text alignments
- Embed images and logos that define your brand identity
- Add custom signatures to brand emails


Note: The Stationery option for creating pre-formatted email templates is not available in the web version of Outlook and is currently limited to the desktop version of Classic Outlook.

In our next section, we’ll look at how to create an Outlook email template in the app.
Read more: A Guide to Microsoft’s New Outlook for Windows
Create an Email Template in Outlook (App)
Follow these steps to create an email template in Classic Outlook (app):
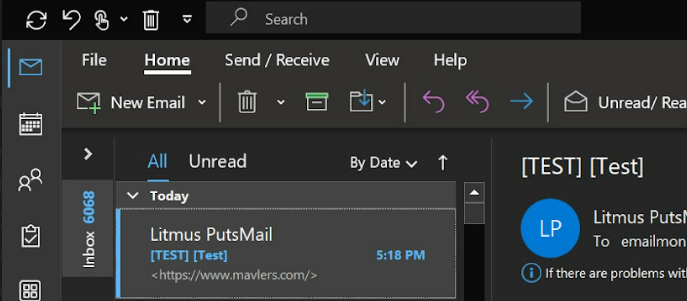
1. Open Microsoft Outlook
Open the Outlook app and go to the Home menu. Select New Email, as shown in the following screenshot.


2. Compose And Edit
Start composing your email. The desktop version of Outlook offers editing/formatting options such as these:
- Edit the font size, style, and color of your text
- Select from Bold, Italics, and Underline; use numbering and bullets as needed
- Apply contrasting text alignments
- Embed images and logos that define your brand identity
- Add custom signatures to brand emails
- Limited collection of basic pre-built templates
- Limited HTML editing capabilities
- Stationery and themes to use pre-designed backgrounds and color schemes
In the next step, we show you how to add Stationery and themes.
3. Add Stationery And Themes
To reiterate, you won’t find the Stationery option in the New Outlook. Switch to Classic Outlook, and follow these simple steps:
- Compose an email, customize it as per your needs
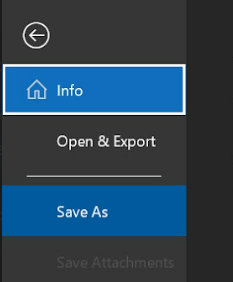
- Click File in the message window

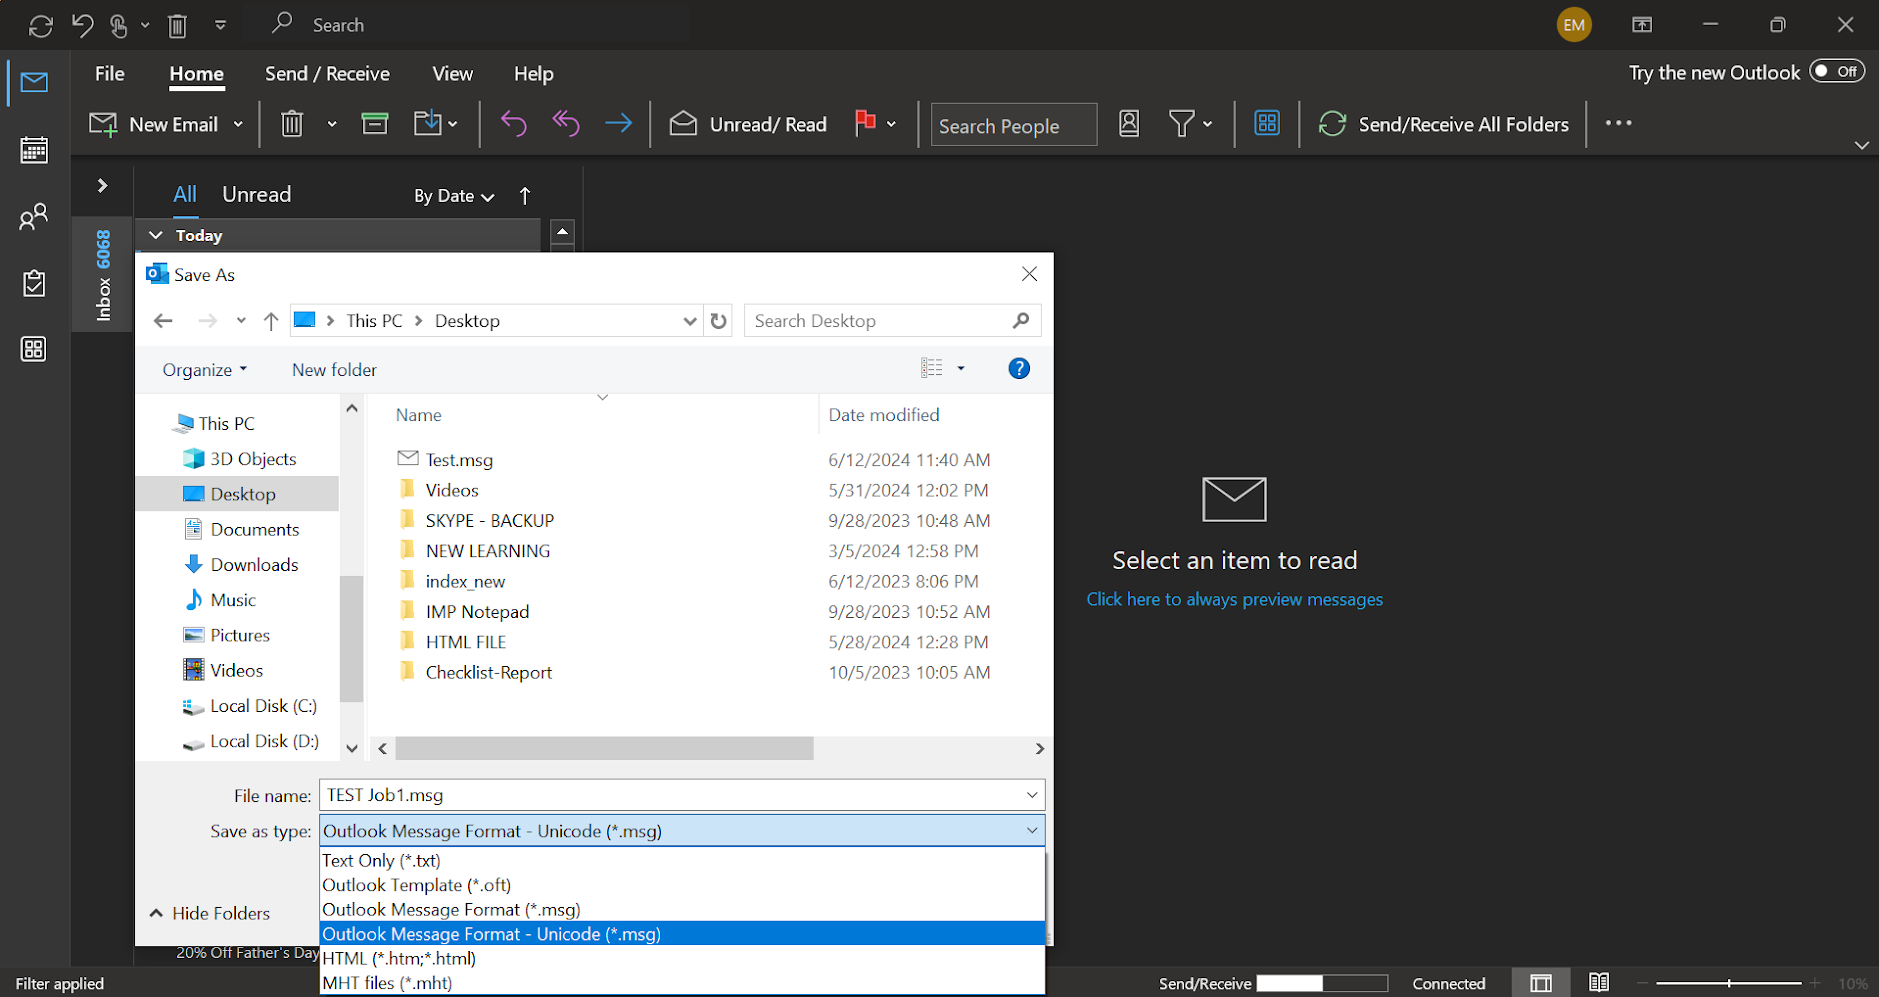
- Select Save As

- In the Save As dialog box, enter this address in the address bar: %appdata%\microsoft\stationery, then press Enter


- This will open the Stationery folder. In the File Name box, enter a name for your Stationery


- Click HTML in the Save as type list

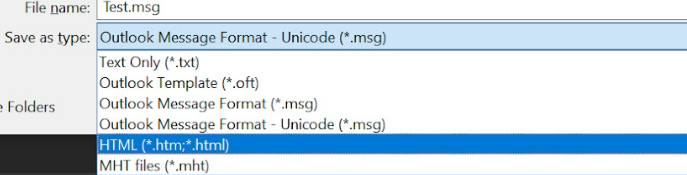
- Click Save
Your stationery can now be applied to your email.
4. Save Your Template
Go to File. From the dropdown, select Save As.
In the File Name dialog box, enter a name for your template. Finally, click Save, and your template is good to go.

Limitations of Microsoft Outlook
As we hinted at the beginning, email marketing is not the predominant use case of Microsoft Outlook. It’s usually part of a company’s email marketing suite alongside email service providers. This is because Outlook has these limitations:
- It does not offer advanced functionality and customization options. Successful email marketing relies on dynamic content, segmentation, personalization, interactivity, A/B testing, and advanced analytics reporting
- You can only personalize emails manually, which is challenging if your contact list is large
- If you are using Classic Outlook, adding background images is not possible without additional code. We recommend switching to the New Outlook for that
- Round edges are also not supported on Classic Outlook.
- As you scale, managing and updating email templates becomes difficult over time
- In the absence of access control, templates saved locally may be vulnerable to malware


The best use case of Microsoft Outlook is in tandem with advanced ESPs. Depending on your business/client needs, you can create Microsoft Outlook email templates and supplement your campaigns on your preferred ESP.
Read more: Outlook Email Rendering Issues and Hacks to Save the Day
Tell Us Your Email Template Production Needs!
Need help with designing on-brand, high-converting email templates?
Join the design omnibus, which delivers 3000+ monthly templates and offers support across 50+ ESPs. Share your design file, and let our designers and coders take care of the rest.