


The fate of any email marketing campaign starts and ends with an email. The opening and user engagement of an email is like playing with a set of dominoes. Toppling of every domino based on the push from the previous domino and in the end the final topple brings out a vivid new image. One wrong placement and the domino remains stand still.
Similarly every element of an email such as subject line, pre-header text, navigation, hero image, CTA aesthetics etc. play a sequential role. If your subscriber is put off by either one element then other elements become worthless.


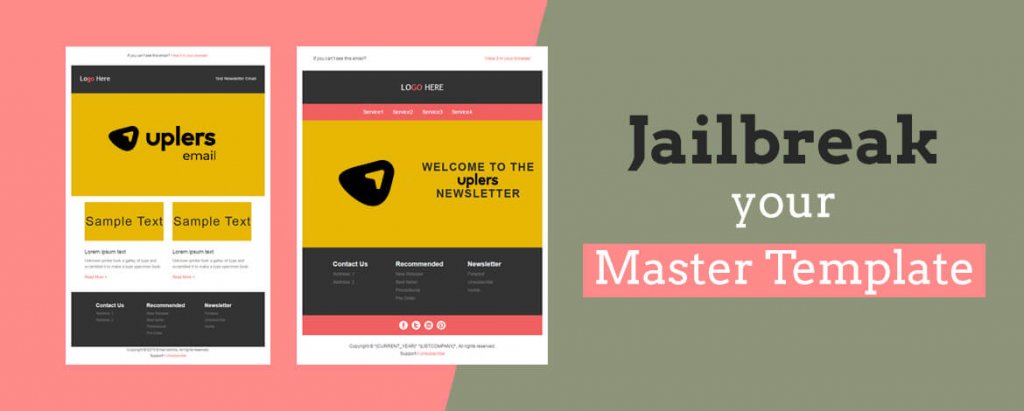
In our previous blog, we shared a checklist for Designing PSD for an email campaign. For those who have downloaded any of our Master Templates for Mailchimp, ExactTarget or Campaign Monitor, we Uplers have come up with a tutorial to introduce you to different elements of the template and create various emails for your email campaign from a single template.
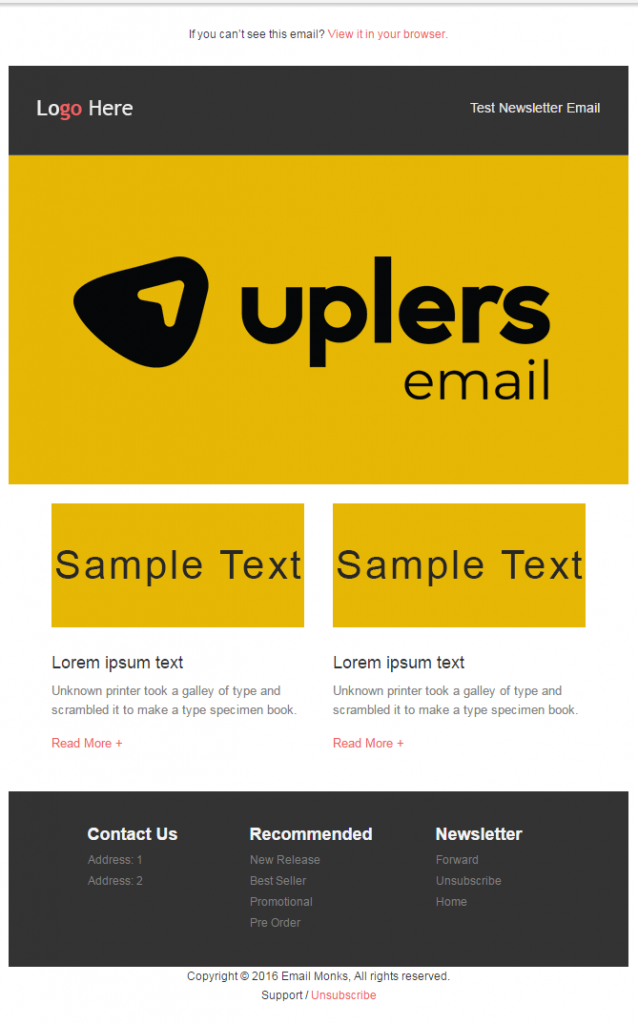
Components of Master Template
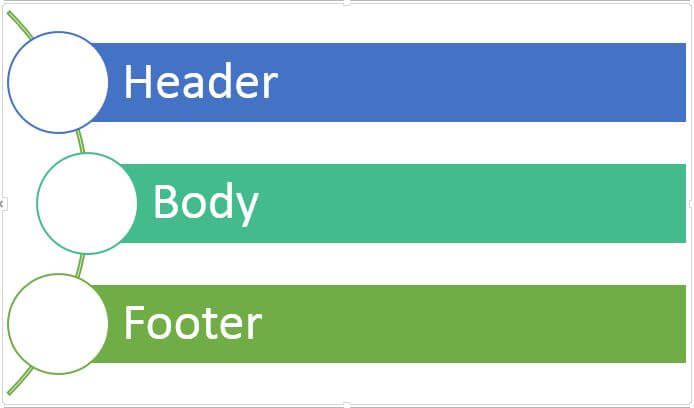

Header
In the Master Template, you have an option to choose from 3 different styles of header. First two are applicable if you wish to include navigation in your emails.
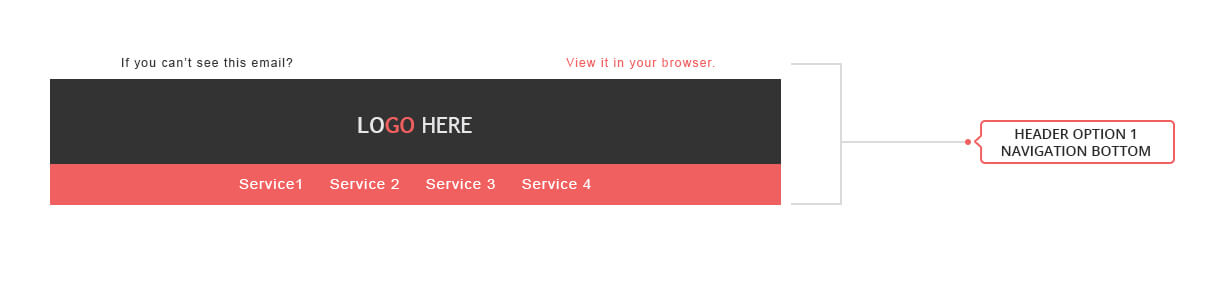

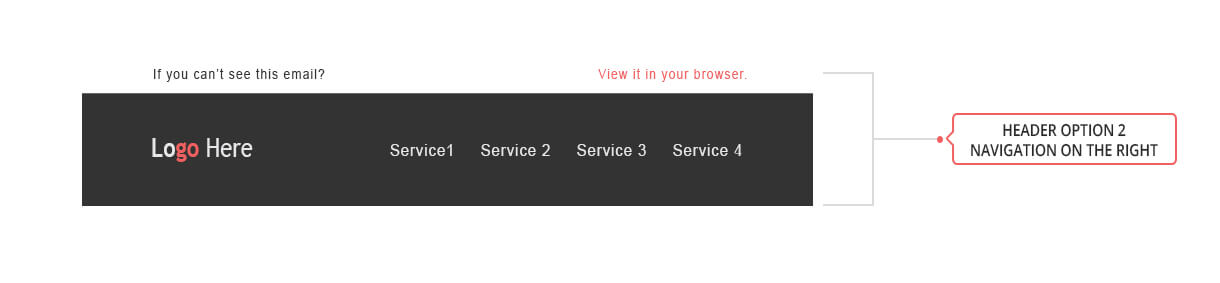
In the 3rd header option, you can include any custom text in place of the date on the header.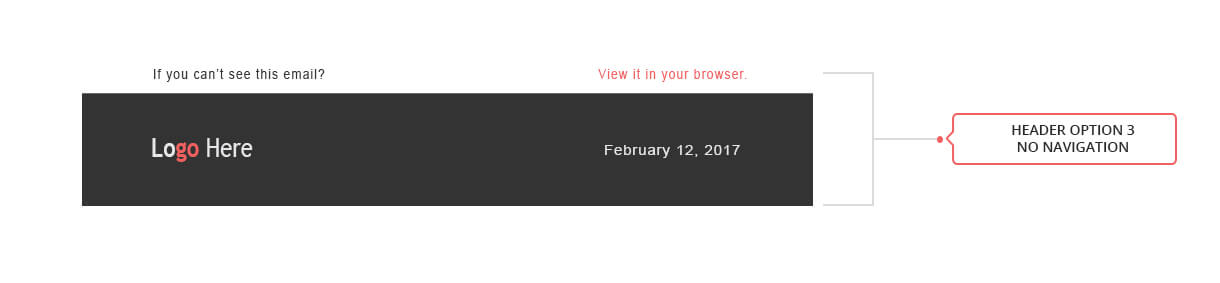
Body
This is where the meat of your email is placed i.e. the message to be conveyed. In the Master Template there are different sections that can be combined together to create an email body that is not too lengthy and yet provides important information.
The Body section content blocks can be categorized into 4 parts:
- Visual
- Text-only
- Mix of both worlds
- Miscellaneous elements such as spacer or divider
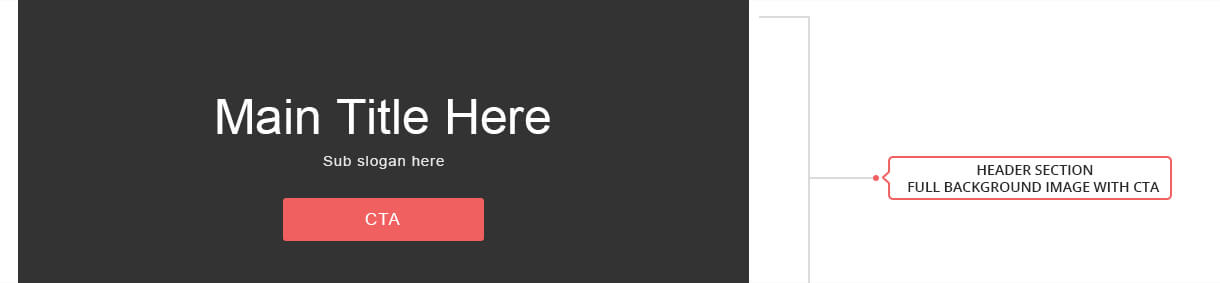
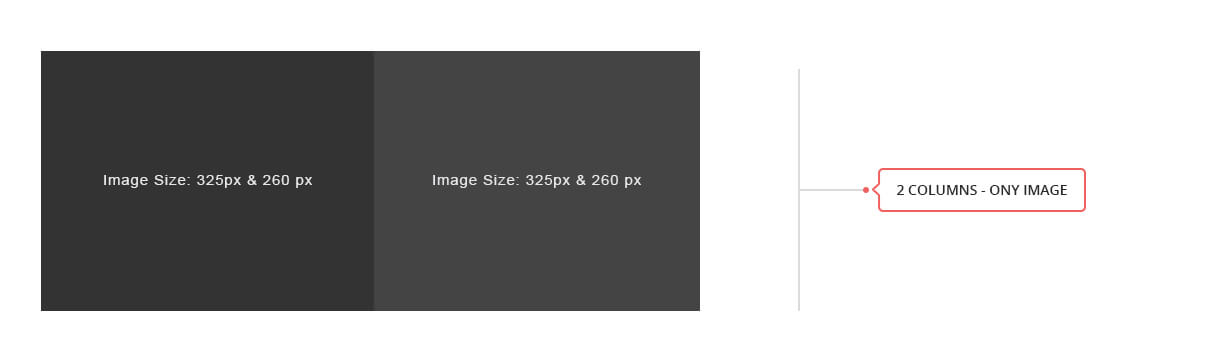
Visual: These sections make use of only images, videos or GIF to create a banner, hero image or product carousel.


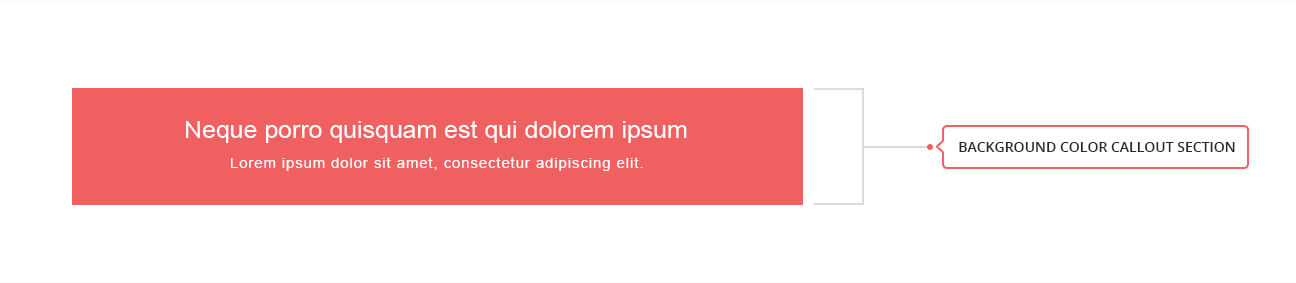
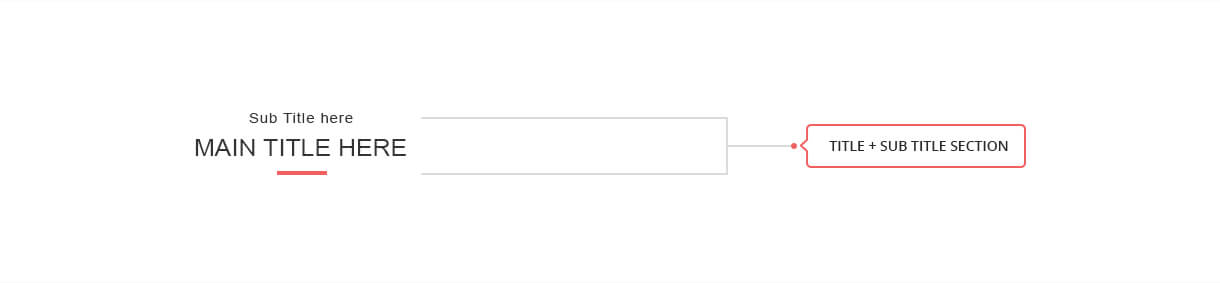
Text-only: These sections are for addition of a title and sub-title or to convey information.

The background color callout section can be used as a banner carrying the text.

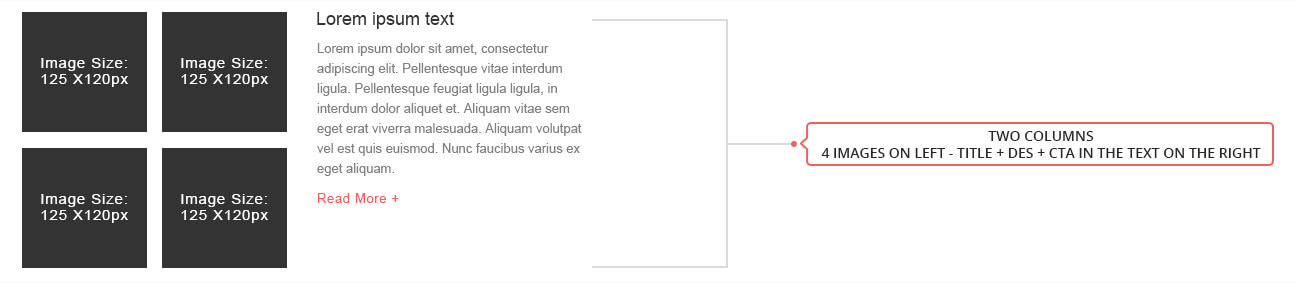
Mix of both worlds: These sections are great for showcasing your products and listing your services.

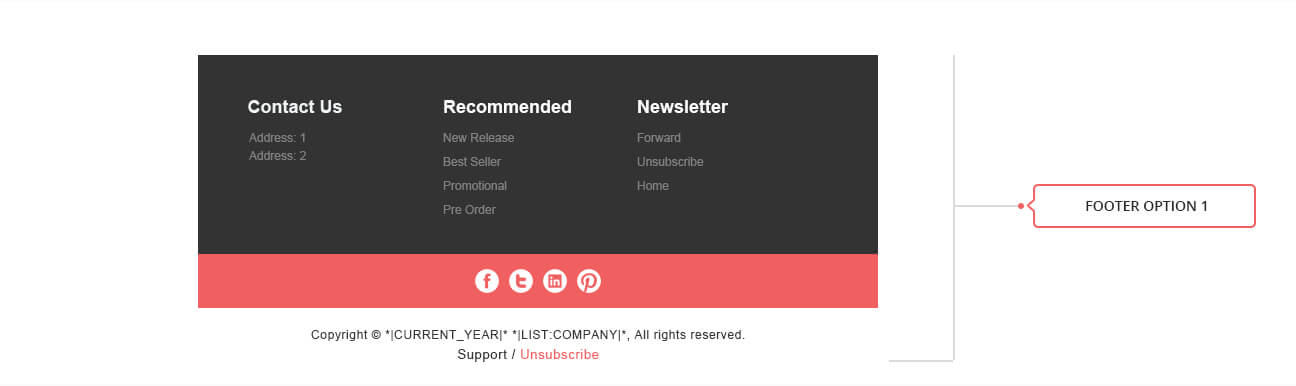
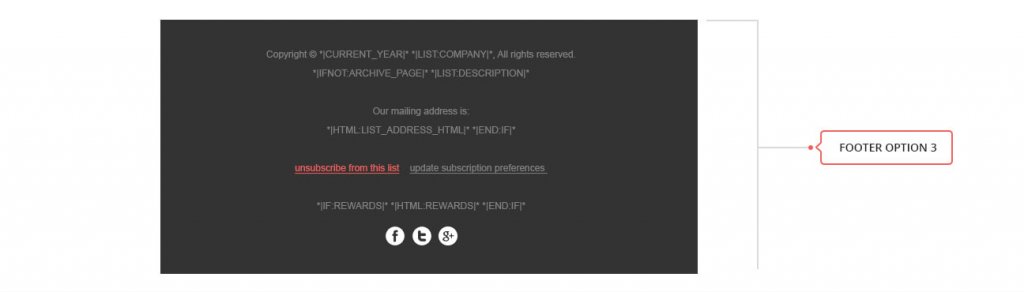
Footer
An email footer mostly contains conclusion to the message conveyed in the body followed by email signatures. You can add your signature along with social buttons for the subscribers to connect with you over social media. Also, footer can be a good place to share any copyright, terms & conditions or disclaimer info, necessary for legal purposes.
3 different styles of footers are available to choose from, and each of the footer is CAN-SPAM compliant and features the elements listed above.


Editing the Master Template
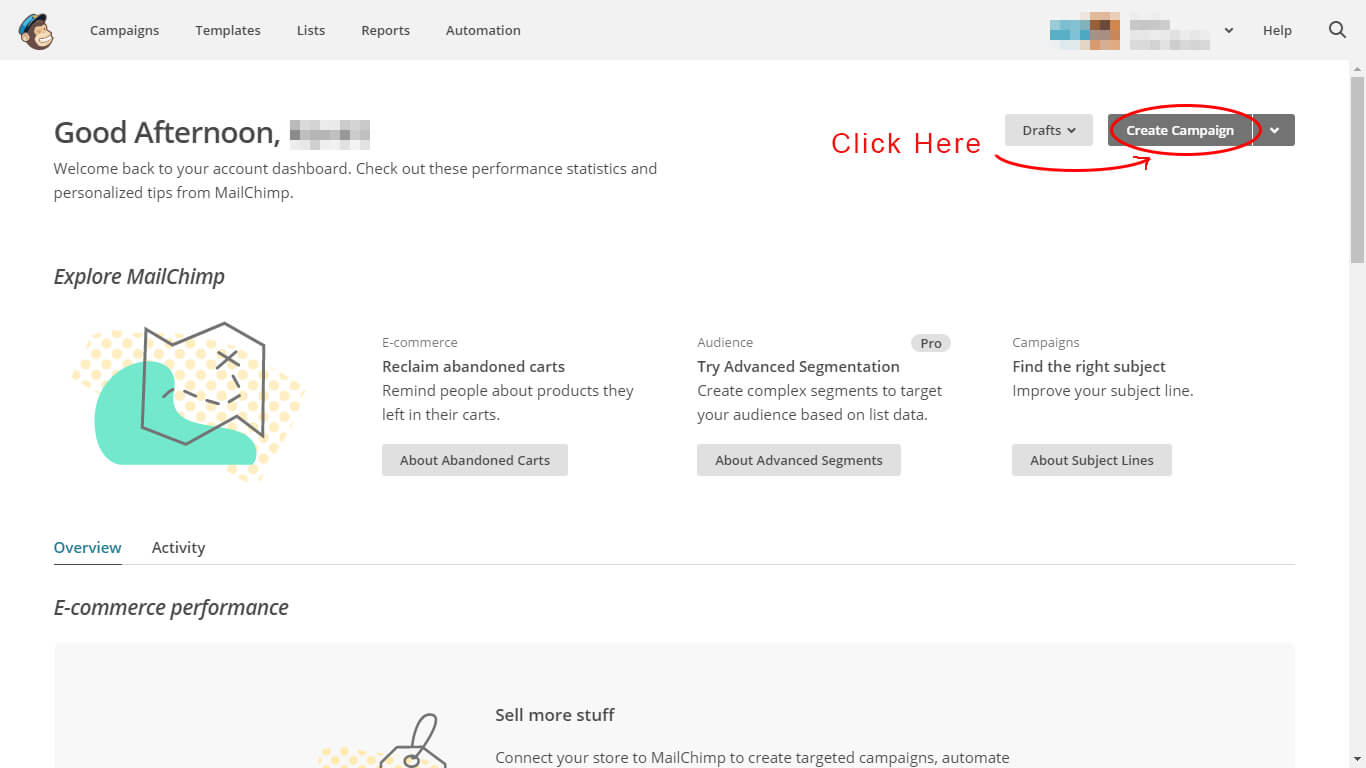
Now that you are familiar with the different sections, it is time to edit your master template. Please note that for demonstration purposes, we have used MailChimp email editor. Steps shall be similar for other ESPs.
Step 1: At the Dashboard, click “Create campaign”.


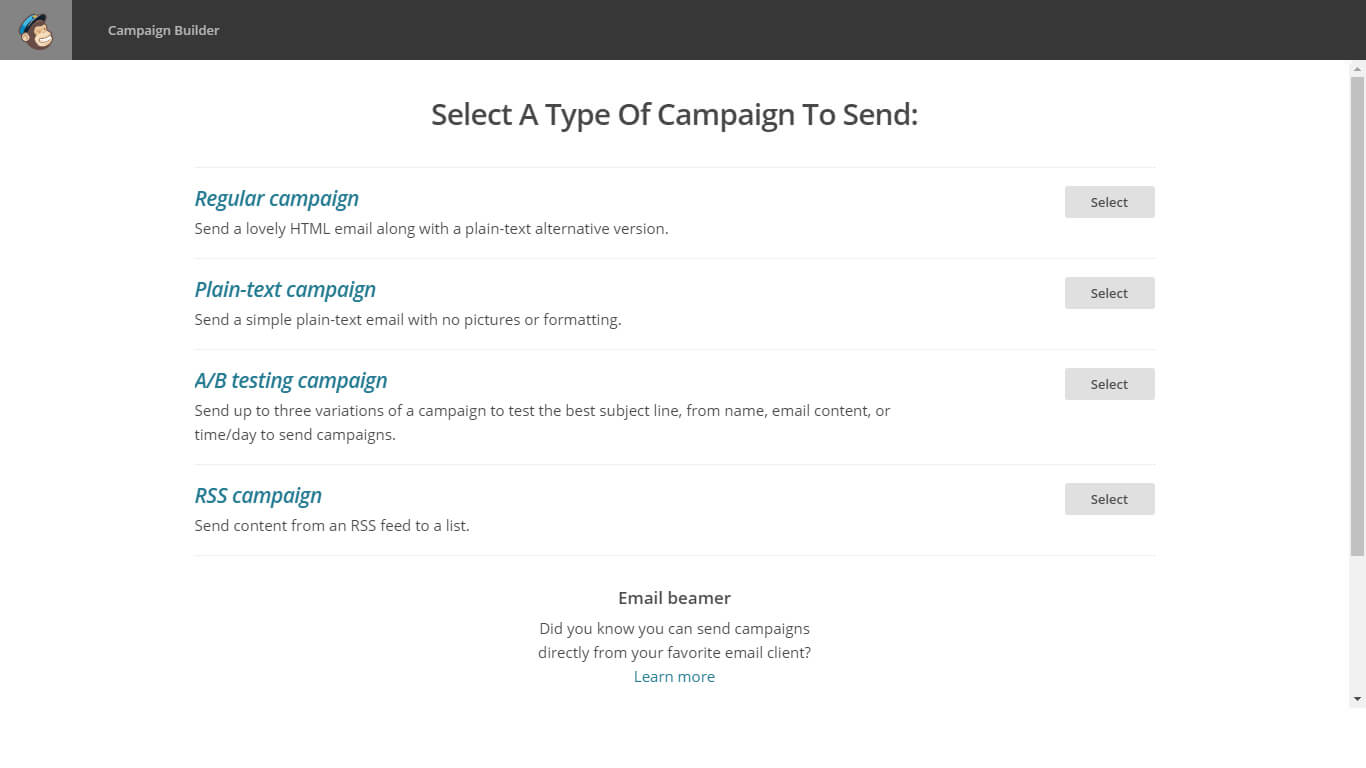
Step 2: Select Regular Campaign
Step 3: Select your mailing list -> Name your campaign -> Input your Subject line -> Add your FROM name.
In the template selection pane, click on ‘Code your own’ and select ‘Import from zip’ -> In the pop-up window, navigate to location of the zip file.

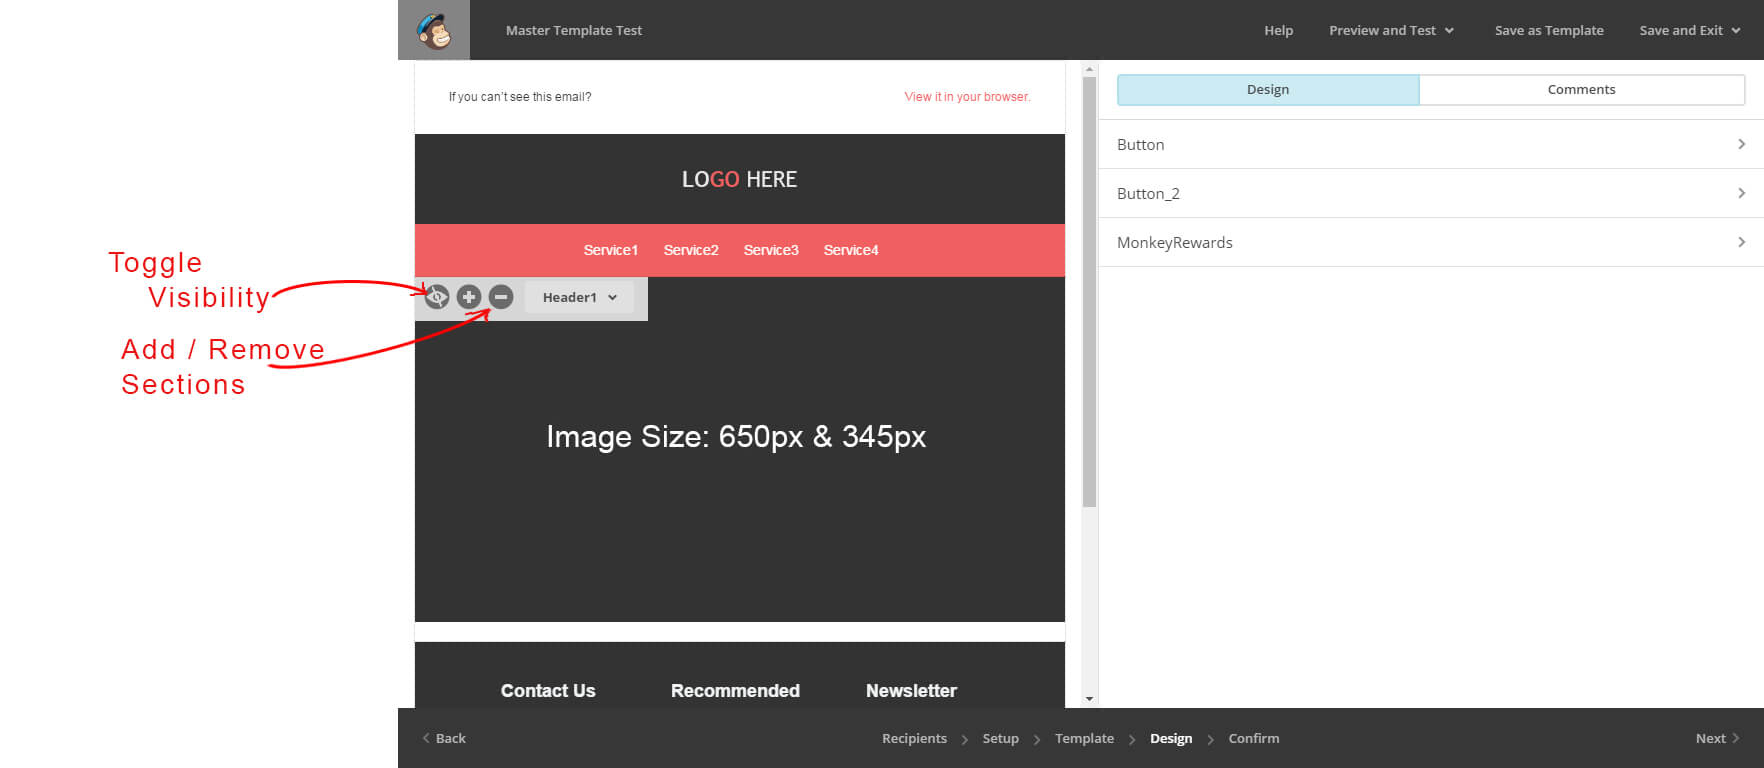
Step 4: As shown below, the template shall be ready to edit. The ‘eye’ shaped icon toggles visibility where as the ‘+’ and ‘-‘ symbols adds or removes the sections.

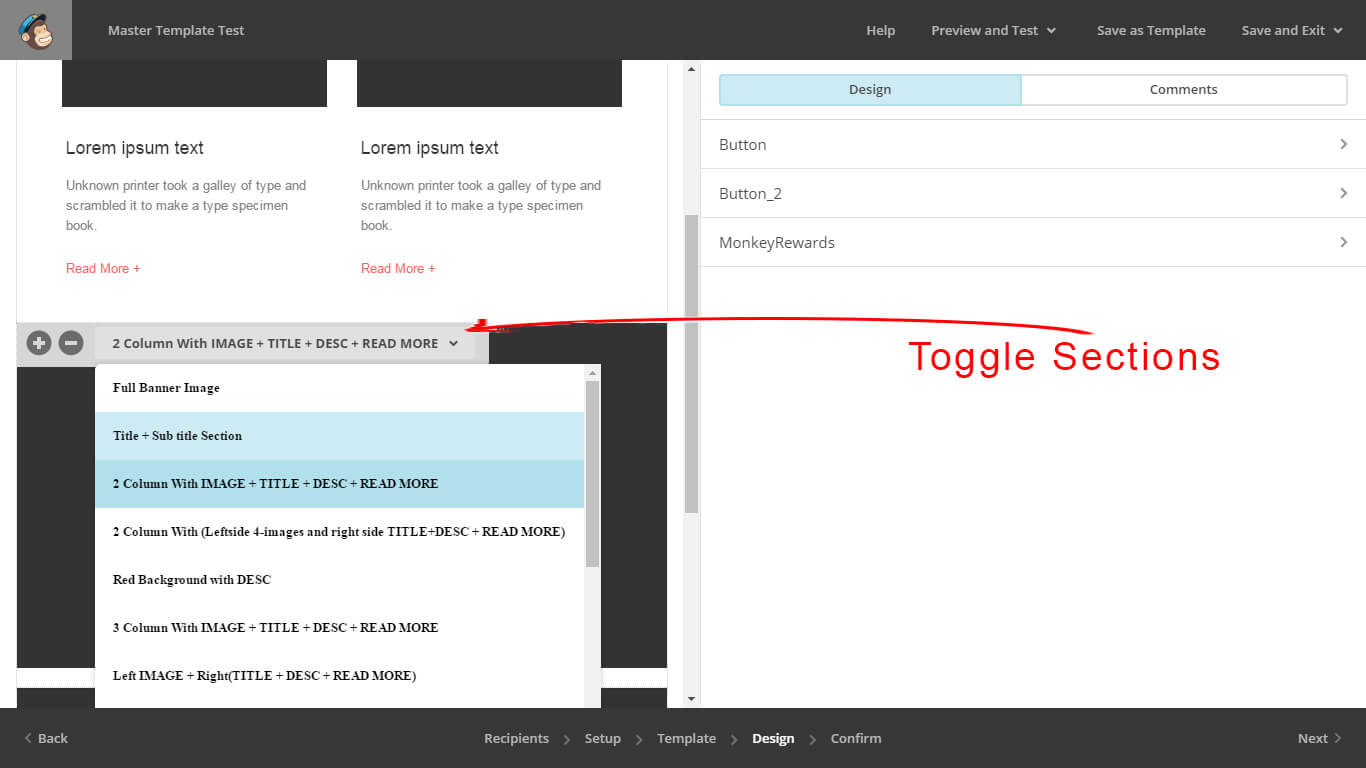
Step 5: Clicking the dropdown menu, brings all the different sections available.
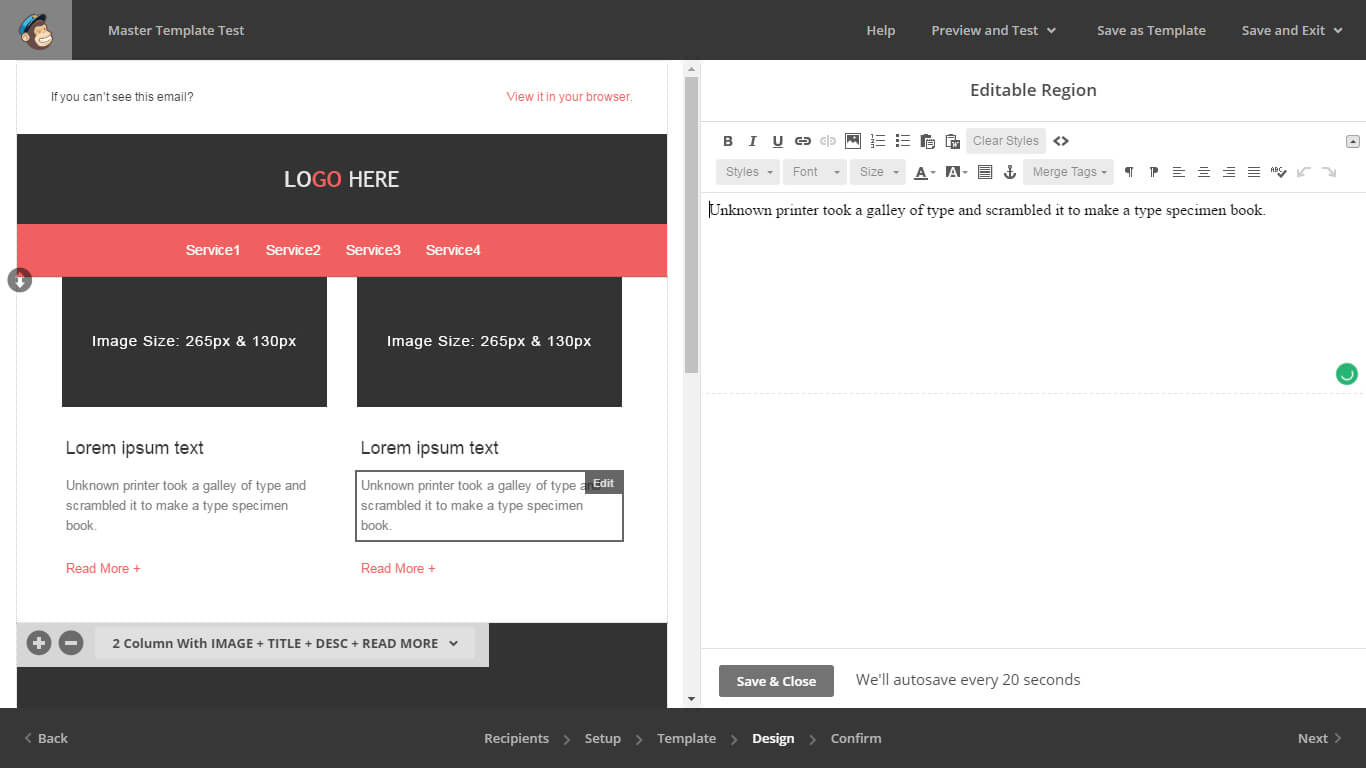
Step 6: Clicking on any element within the section, the editing window comes up where you can change the text within the section.
Types of Email possible by using Master Template:
Welcome Emails


Shopping-Cart Abandonment Emails


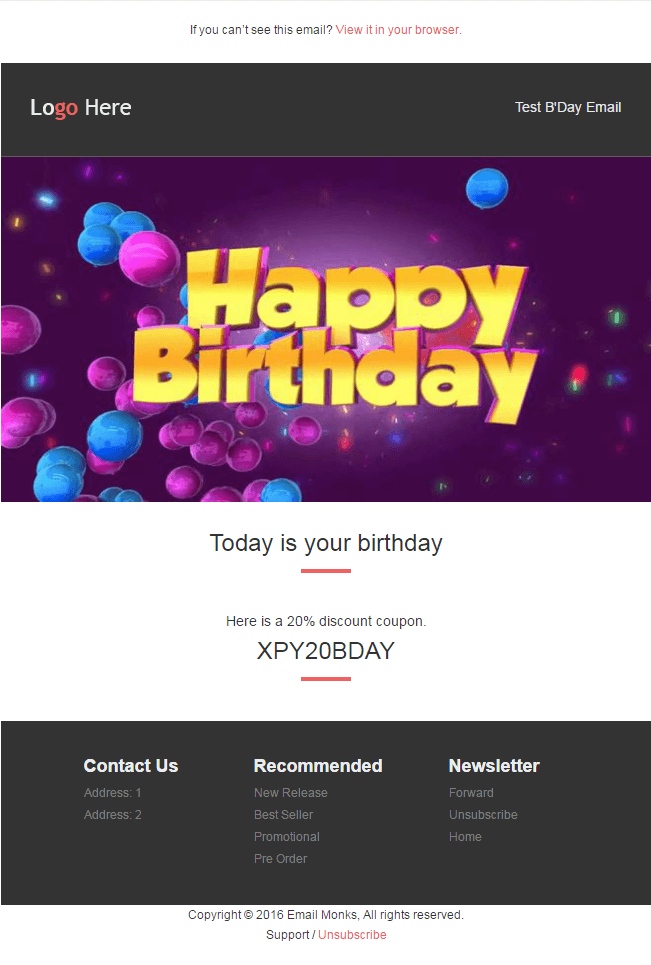
Birthday/Holiday Anniversary Emails

Newsletter Emails

Sales Announcement Emails


Advantages:
- Cost effective
- Saves time & effort
- Gives Uniformity to your branding
- Helps you follow Email Design best practices
Disadvantages
- Limitations in customization
- Just another email (no competitive edge)
- Time consuming