


Is Email Marketing an Art or a Science?
Well, if experts are to be believed, then it is both. To succeed, an Email Marketing requires good planning, creative thinking as well as flawless execution. And most importantly, there needs to be a solid strategy that drives all these elements and creates a coherent whole. Even better, harness a group of strategies and Email Marketing best practices, and use a comprehensive yet user-friendly email marketing solution like Salesforce Marketing Cloud (SFMC) to execute your Email Marketing campaign.
But what are some of these Email Marketing best practices?
A Google search for ‘Email Marketing Best Practices’ yields 439 million results:

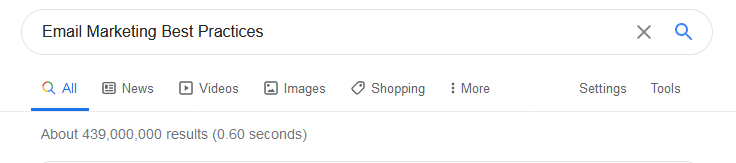
Dizzy much?!
With so much information already available, where can a Salesforce template specialist quickly find the right information to help him build and execute a successful Email Marketing campaign? Right here!
In this comprehensive guide, we will share some secrets about Email Marketing best practices with the world’s most popular email marketing solution – Salesforce Marketing Cloud.
Strategy #1: Start right by managing your subscribers’ preferences
If you don’t know your audience, you don’t know who you’re marketing to. This means you don’t know what you’re trying to accomplish. In other words, you don’t have a clear goal. And if you don’t have a goal, why are you even launching an email with Salesforce campaign management?!
That’s why it’s crucial to know your audience. And managing your subscriber preferences using SFMC’s ready-to-use Profile Center and Subscription Center is a great way to do this. Here’s what you need to know about SFMC’s ready-to-use Profile and Subscription Centers.
Profile Center in SFMC

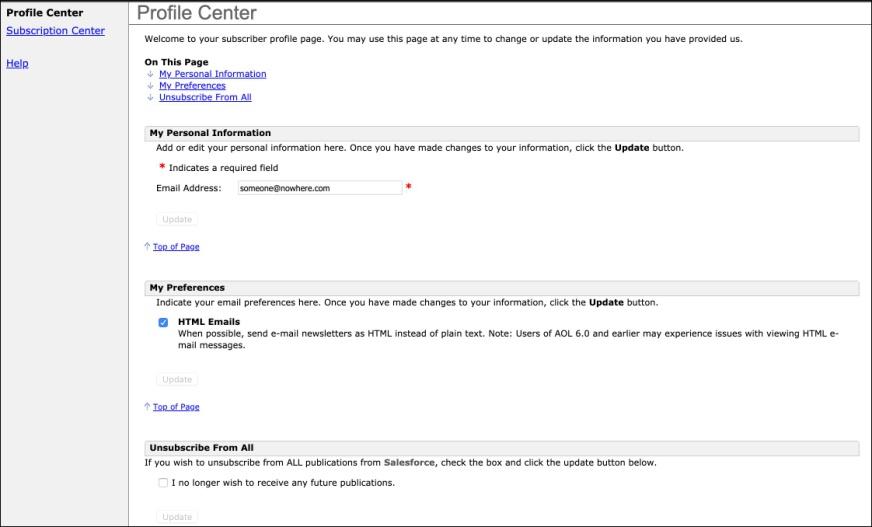
Any attribute you store about a customer after they have updated their personal information (email, gender, name, etc) and basic preferences shows up on their Profile Center.
To create Profile and Preference attributes in SFMC Email Studio:
1. Click Subscribers
2. Click Profile Management to create a profile attribute or Preference Management to create a preference attribute
– If the subscriber attribute is Yes or No, create a preference attribute
– If the attribute requires more complexity, create a profile attribute
3. Click Create
4. Define the properties for the attribute
5. Click OK

Modifying attributes is also fairly simple in SFMC Email Studio:
1. Click Subscribers
2. Click either Profile Management or Preference Management
3. Click the attribute you want to modify
4. Edit the properties as needed
5. Click OK
Subscription Center in SFMC

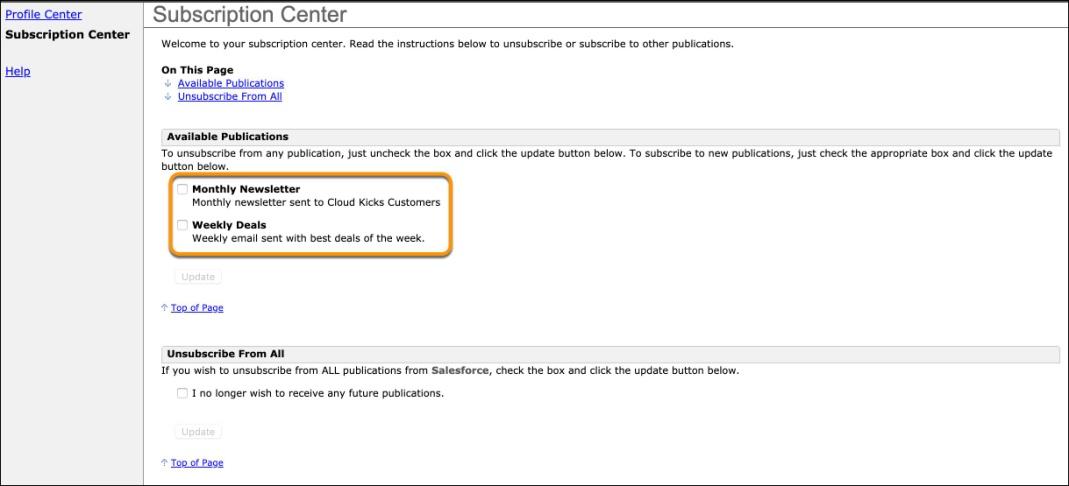
The Subscription Center identifies which messages a subscriber receives from your business. Publication lists are created to manage the different types of messages subscribers receive (newsletters, marketing alerts, etc). Subscribers can choose to opt out of a particular category without opting out of all messages.
Preference Center in SFMC
The Profile and Subscription Centers are fairly standard and allow for very limited customization (color scheme and logo addition). Preference Center provides a more customizable solution for managing both profile and subscription information.
As you create your customized Preference Center, keep these tips in mind:
- Make it mobile-friendly and accessible for all subscribers
- Only ask for preferences or personal details if they can add value to your brand’s content strategy
- Your content should clearly explain how often customers can expect to receive your communications (daily, weekly, monthly, etc)
- Make sure your opt-out and opt-down selections are clearly visible and that you honor customers’ preferences
Once you have a way to manage these preferences, you can segment your audience which will then enable you to create personalized email campaigns for your subscribers based on their preferences. On to Strategy #2!
Strategy #2: Segment your audience
Now that you have a handle on your audience’s preferences, the next strategy is to segment them. Your subscribers are not a homogenous group and you should not treat them as such. Segmentation – the practice of splitting your email subscriber list into more targeted groups – can help you create customized emails, and also simplify the process of post-campaign analysis and reflection.
Here are some ways to segment a large email list by subscription type:
- Product updates
- Newsletters
- Daily updates
- HTML
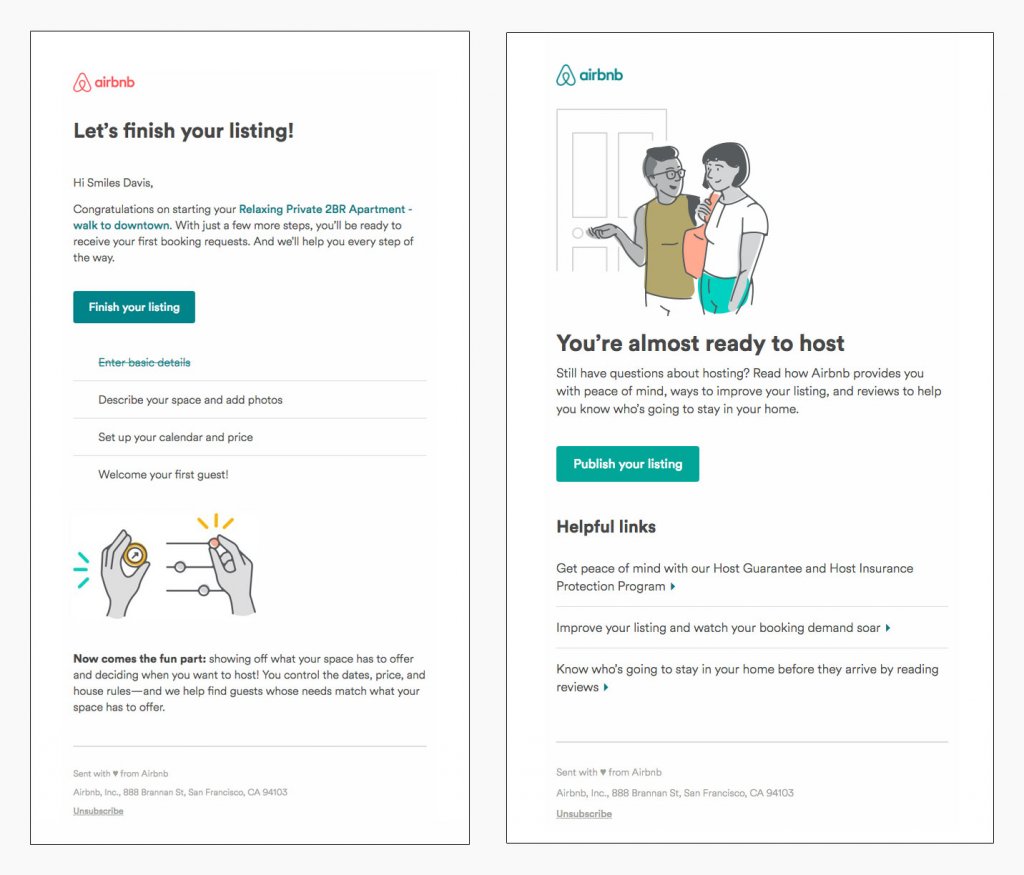
Since you already have your Preference Center set up, you can now use it to gather and validate more data, and send ‘Welcome’ emails where you can:
- Thank them for signing up
- Provide the benefits of signing up to answer their ‘what’s in it for me?’ (WIFM) question
- Reinforce your brand and ask them for more information about their preferences
- Explain other ways they can communicate with your brand, e.g. social media, SMS, app, etc.
Welcome emails are the most opened emails among subscribers and they can be easily sent through SFMC Email Studio. You can either assign a welcome email when you create a list (the email must be created before the list) or you can assign the welcome email later by using the Manage Welcome Email feature.
You can send either a single Welcome email or a series/campaign.


Remember that segmenting audiences doesn’t have to be a one-off activity. As you build knowledge about them, you can tweak your segmentation processes and consequently improve your email campaign outcomes.
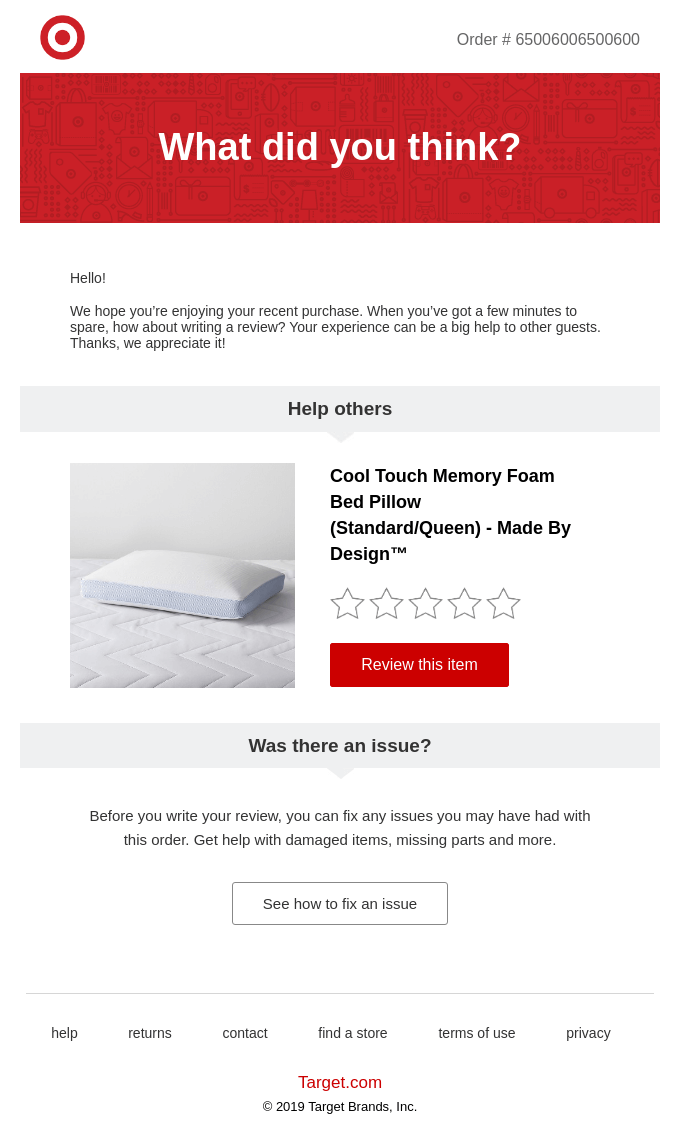
Here are some other emails you can send to gather customer preferences so you can learn more about them and build stronger relationships over time:
1. Survey email:
Request specific feedback in a survey landing page or form

2. Progressive profile emails:
Ask specific questions or provide pointers to know more about them. Include a link to Preference Center if possible.

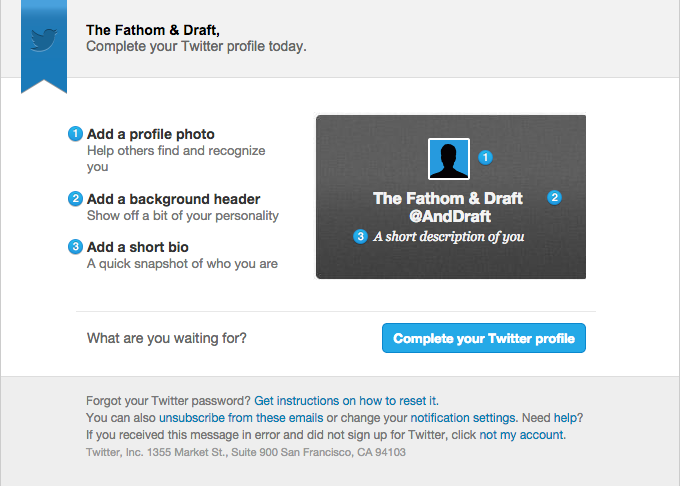
Make sure all these emails are short, easy to complete and rewarding for the customer in some way (remember WIFM!)
Finally, use your data to serve your customers better, not to stalk, harass or over-sell to them. And always, always keep your customers’ data secure.
Strategy #3: Create useful, personalized content
So now you know your customers and have segmented them into targeted groups. The next step is to create content that they will find useful and relevant. Personalization is also very important. One way to do this is through a What-Why-How pre-analysis:
- What is this email’s content about?
- Why should the subscriber care about it?
- How will they get to what they care about?
These three messages must be concise and easy to spot. If they’re not, make relevant changes as appropriate. If you don’t, your subscribers won’t care about your emails.
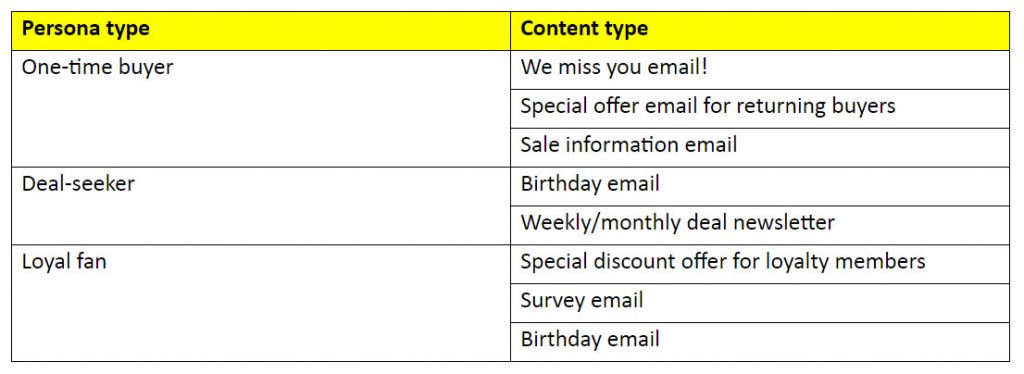
A good way to design the What-Why-How strategy is by defining buyer personas. This will help you and your Salesforce email template specialist create a library of content where each piece is identified by a persona. This can be a big time-saver when you need to create personalized campaigns quickly. Once you’ve perfected your main message, all you have to do is select a pre-existing personalized content block that will go into your secondary content, and you’re done!
Content type by buyer persona
What kind of content should you create based on personas? The below table should help.

Based on all this information, you can include personalization in your email. Here is an example:

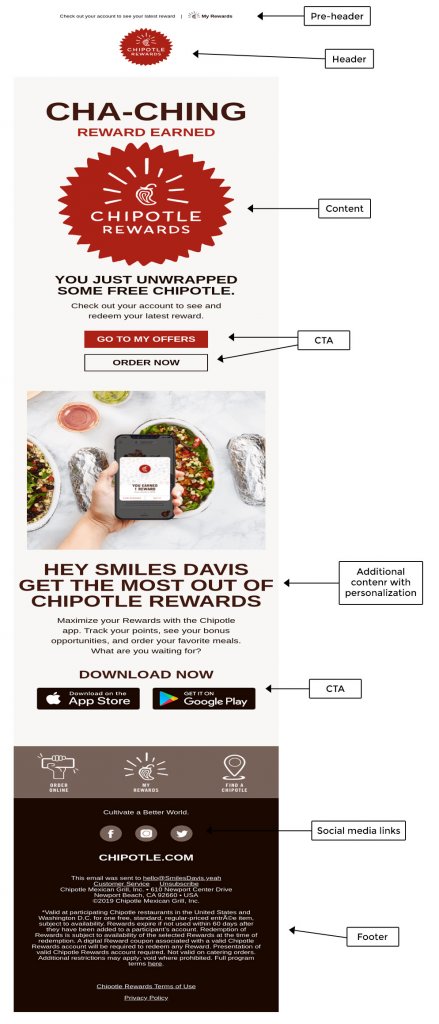
And don’t forget to personalize your subject lines and greeting!


SFMC Email Studio includes a number of content creation tools that enable you to create reusable content blocks (text, HTML, images, buttons, dynamic content, etc) that can aid with personalization.
Here’s what you can do with the feature-packed yet user-friendly Email Studio:
1. Create, edit and view Classic Content
Use the Salesforce email template editor if you’re looking for pre-defined layout options
- Classic Salesforce email templates are stored under the Content tab in the My Templates folder
2. Send emails using the most applicable method for your specific use case
- Guided send
- Test send
- Simple send
- User-Initiated send
- Triggered emails
3. Insert personalization strings
- Insert subscriber attributes such as their name into your email subject lines, pre-header or content
4. Identify spam triggers and improve your email deliverability in Content Detective
5. Use content syndication to include content from outside sources
With SFMC Email Studio, you can also:
- Enable recipients to share content with other users via their preferred social network
- Send email attachments that are not included in the email’s main body
- Utilize mobile-optimized Salesforce email templates to design for the mobile inbox
- Preview your emails with instant rendering tools
- Perform A/B testing and ensure that the relevant message reaches the right person always
But these tools can only help if your design is compelling and if your content is relevant to the subscriber! Keep in mind these tips:
1. The design and content of your Salesforce email template should be accessible and clear to all subscribers. This means you must:
- Use large and readable fonts, buttons and labels
- Be generous with line spacing
- Create both HTML and text versions
- Use high-contrast colors to ensure readability across brightness levels
- Always include ALT tags in images
2. Design mobile-responsive emails
3. Add emotion to your emails, not a sales pitch
4. Stay true to your brand’s positioning and values. SFMC’s BrandBuilder is a great tool for this.
Strategy #4: Test before you send
Would you launch a new product in the market before testing it on a small ‘test’ group first? Then why would you launch an Email Marketing campaign before testing it first?!
SFMC offers great tools to help you test your email campaigns before the actual launch so you can analyze the results and make changes wherever necessary (before it’s too late!). This process is known as A/B Testing and SFMC Email Studio makes it seamless and hassle-free.
To know more about A/B testing and how you can set it up from start to finish, check out our article here.
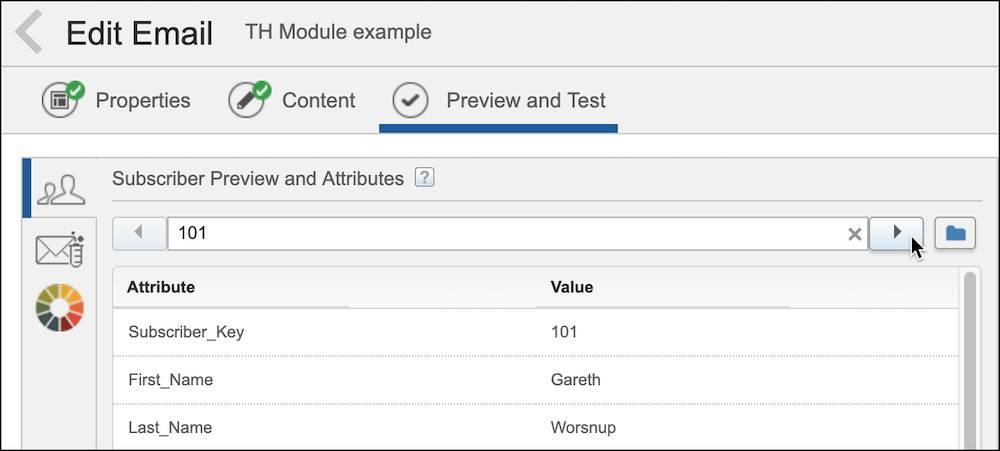
Once you have finalized the email version, you should check and preview it before sending.
Go to Content Builder -> review Preview and Test -> Click through your sendable data extension to make sure the email is rendering appropriately.

You should also consider doing an additional step – a QA test – before the final send. Ideally, this step should not be performed by the Salesforce template specialist or email creator, but by a designated QA tester from software testing companies.
Strategy #5: Execute, analyze, improve, repeat
Once you have a segmented list of subscribers, created personalized content and A/B tested your email versions, you’re ready to launch your email campaign.
When you do, first, pay attention to timing. For example, welcome emails should be sent quickly after sign-up, not 2 weeks later. Similarly, avoid sending emails in the middle of the night – pay attention to time zones! Also, do monitor send frequency. Don’t bombard people with your emails!
Use Setup Assistant to configure SFMC Email Studio and set up marketing automation.
You should also measure the effectiveness of your campaign once it has started. And for that, establishing proper tracking is critical. Use Google Analytics or any other tool to measure metrics like time spent on a page, engagements on the page, bounce rate and of course, conversions. You can also define ‘measures’ in Email Studio to track subscriber behaviors and use these insights to guide your actions.
Some examples of measures include:
- Total opens in last 30 days
If this rate is low, your email may be getting stuck in people’s spam folders
Tip: Try adjusting your email subject line - Total click-throughs in last 30 days
- Hard bounces in the last month
This usually happens when the email address is no longer active or is invalid
Tip: Let subscribers know that if they change their email address, they should let you know so you can update your contact list - Unique unsubscribes in the last 30 days
Marketing Cloud Email Studio simplifies three types of unsubscribes: List, Master and Global
Tip: To unsubscribe a subscriber from a List, include an Unsubscribed status in the import file
Tip: To Master unsubscribe a subscriber, include an Unsubscribed status in the import file and import into the All Subscribers list
The Global list is managed by SFMC and it applies to every email sent from every account in SFMC, not just yours
With Email Studio tracking, you can also view undeliverable messages, track how many emails were forwarded and how many new subscribers each forward generated. You can also compare high-level metrics for each message in a campaign and track overall campaign numbers. With the Conversions Tracking feature, you can track customer traffic and revenues generated by multiple links within emails. Email Studio also provides reports that can be delivered to your email inbox.
Wrap-up
So there you have it – 5 time-tested email marketing strategies for Salesforce Marketing Cloud!
We hope this guide gives you a solid foundation to create robust and successful Email Marketing campaigns for your brand. Put on your creative thinking act and implement these strategies. One of the most reliable email marketing solution – Salesforce Marketing Cloud – will take care of the rest!