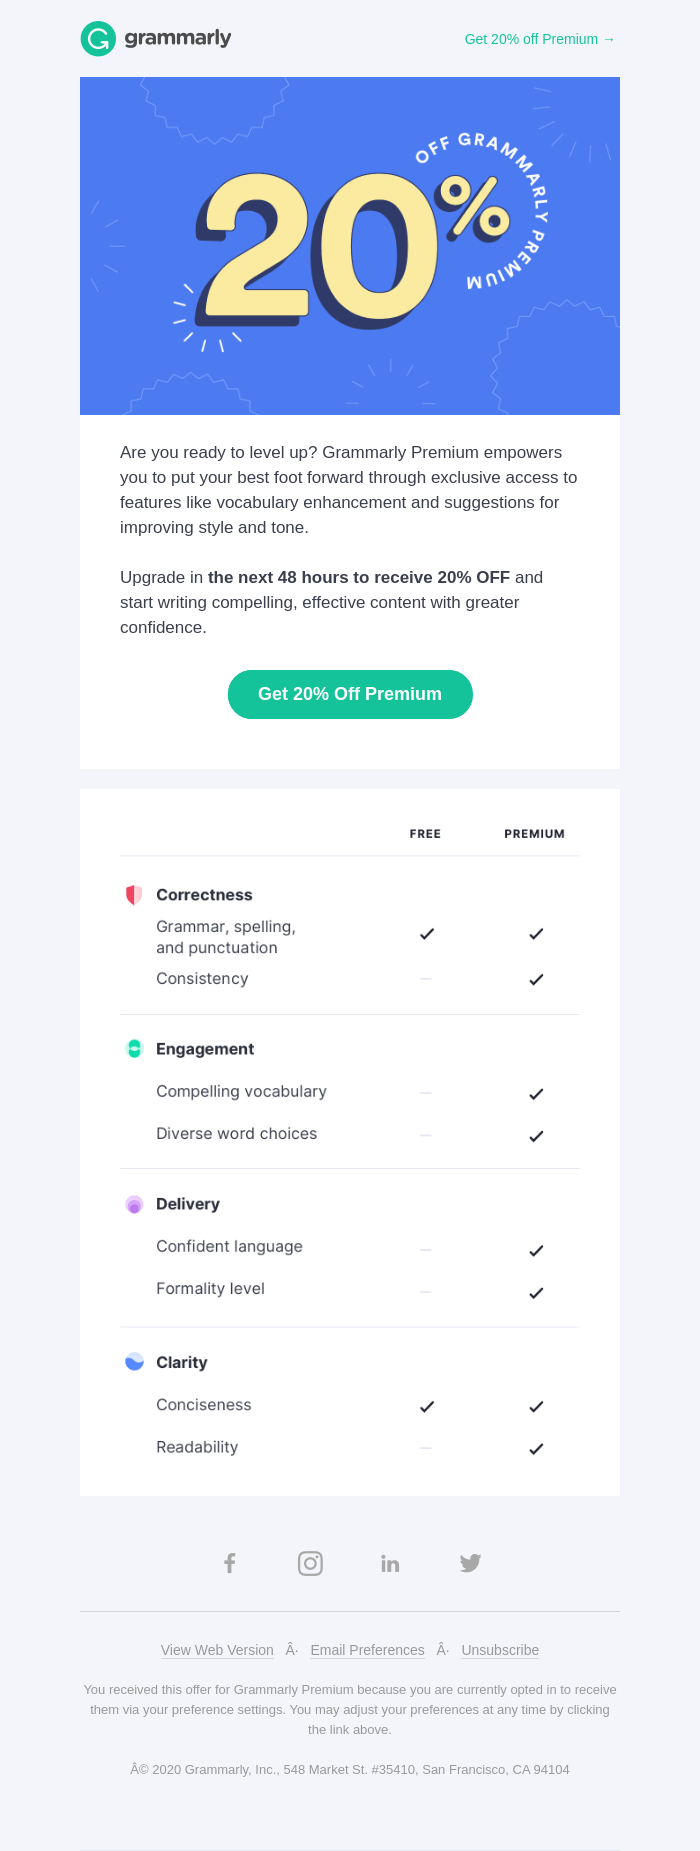
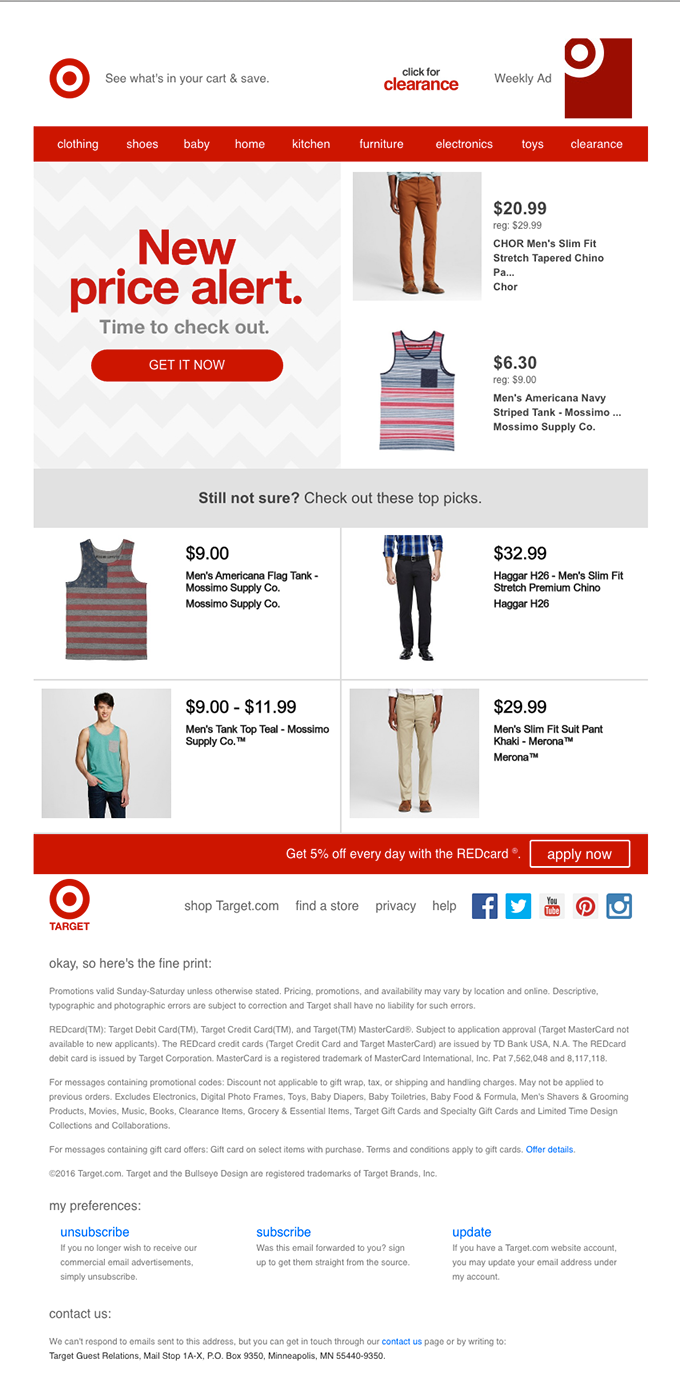
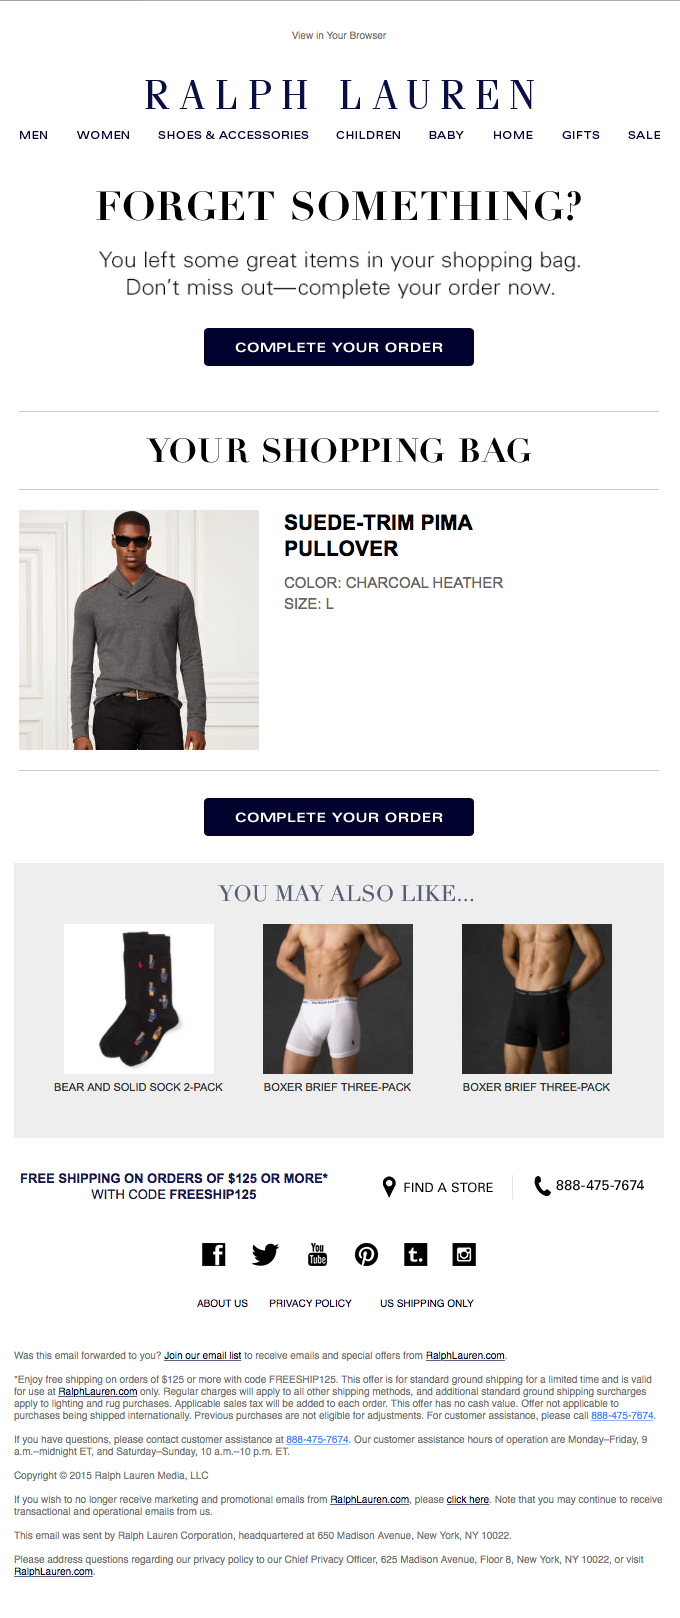
Audience segmentation allows brands to understand the needs of a specific customer base better, and align their email marketing strategies and messaging towards fulfilling those needs. Segmentation also supports a brand’s objectives around email personalization.
Personalized emails can deliver 6X higher conversion rates compared to generic messages.
Thus, by combining segmentation with personalization, you can deliver better customer experiences, which means happier customers. Audience segmentation can also help you generate more sales, increase customer retention, create brand advocates and superfans, and gain a competitive advantage in a crowded, noisy world.
One of the easiest ways to simplify audience segmentation and make it work for your brand is with Salesforce Marketing Cloud (SFMC). This popular email marketing solution offers a number of user-friendly tools, a rich and extensible data model and powerful insights – everything you need to segment your audience and create more compelling email campaigns targeted at that audience.
In this article, we discuss some of the key concepts of Salesforce (SFMC) customer segmentation as well as some time-tested SFMC segmentation best practices. If some of the information feels too technical for you, ask an SFMC specialist or developer to help you out.
How to Do Audience Segmentation In SFMC
1. Understand types of segmentation
Salesforce customer segmentation (in SFMC) can be done on the basis of:
- Demographics: Age, income level, gender, etc.
- Behavior: Purchasing habits, brand interactions, website visits, etc.
- Geography: Continent, country, city, etc.
- Psychography: Interests, attitudes, values, lifestyle, etc.
2. Model your data
Data modeling involves analyzing the relationships between data objects (subscribers) with other data objects like orders, visits and support cases. It provides a roadmap that connects the right data extensions together and enables email marketing managers and SFMC specialists to take data-driven decisions w.r.t audience segmentation.
3. Apply data filters and run SQL queries
There are two chief methods for Salesforce customer segmentation in SFMC: data filters and SQL queries. Some email marketers, particularly those with no prior knowledge of SQL, find data filters in SFMC Email Studio to be more intuitive. You can use these data filters to segment data with fields like country, close date, last name, and other attributes relevant to your brand.
For large data sets or multiple data extensions, SQL queries are more suitable. Moreover, they are not limited to the data fields in Email Studio. But the downside is that to create and run queries, some advanced knowledge of SQL is required. For a more detailed description of data filters and SQL queries, see the next section.
Data Segmentation Tools In SFMC
Here are 3 powerful SFMC data segmentation tools that email marketers and SFMC specialists should be aware of.
1. Data filters
In SFMC, a data filter is an easier way to segment your subscribers.
To get started, go to Email Studio. In the Subscribers dropdown menu, select Data Filters.
Creating a filter means dragging one or more fields (drag and drop) into the create filter window. For each field column, select the operator and the value. Use the AND or OR operator to add multiple conditions.
Example 1: To create a new segment consisting of all subscribers whose last name is ‘Garrick’, use the ‘last name’ profile attribute. Then set the operator to ‘equal to’ and the value to ‘Garrick’.
Example 2: To search for every customer named ‘Dave Garrick,’ set ‘first name’ equal to ‘Dave’ and add that attribute to your data filter.
Data fields provide a good starting point for audience segmentation in SFMC, albeit with these limitations:
- Filters can only be applied to data fields in Email Studio
- Larger data sets are harder to work with (within the presets)
2. SQL Queries
SQL is a database management language best suited for working with vast quantities of data that cannot be managed with data filters in SFMC. If you need to target a very specific segment, you can devise a query that returns exactly those customers’ details. You can also narrow your selections to find the right specific datasets needed for a particular task by using commands like SELECT, FROM, AND, WHERE, etc.
To access SQL queries in SFMC, go to Journey Builder in the Automation Studio window.
Under the Activities list in Create Activity, choose SQL query.
You can also automate the execution of your SQL queries via Automation Studio.
3. Audience Builder
Audience Builder in SFMC is another drag-and-drop data segmentation tool with sophisticated capabilities. Unlike data filters, Audience Builder can filter across data extensions and append data to audiences (i.e. segments).
Another advantage is that Audience Builder comes with an easy to use visual interface – ideal when creating simple or semi-complex segments. You can use data from any source within the Salesforce ecosystem and even offline data to build a single view of the customer. With Einstein AI’s predictive scoring capability, you can then target smart audiences based on what they will do next, not just on what they’ve done in the past.
The disadvantage is that many options need to be configured which can add to its complexity, so it’s best to let a technically-sound SFMC specialist take care of this task.
In addition to the above 3 data segmentation tools in SFMC, you can also use 3rd party apps and connect them to SFMC. Look for a tool that offers these features:
- Flexibility of SQL queries
- Simplicity of data filters
- Drag-and-drop interface
- Full integration
How to Automate Salesforce Customer Segmentation With Data Extensions In SFMC
SFMC stores data in data extensions, which are similar to tables in a database or custom objects in Salesforce. Here’s a quick guide to create a data extension and then assemble an initial audience.
The segmentation condition we will use: subscribers whose birthday is today.
Step 1: Create a Salesforce Report (Sales Cloud)
Create a Contact Report in Sales Cloud with the relevant fields for audience segmentation and email customization, e.g. first name, last name, email, etc. These fields will be filtered by “Birthdate equals TODAY.”
Step 2: Import Contact Data into a Marketing Cloud Data Extension
a) First, integrate SFMC and Sales Cloud with the Marketing Cloud Connect app.
b) In the Source section, under the File Location field, select Salesforce Objects & Reports and Report option in the Salesforce Data Source Type.
c) Click Select to launch the report selection dialog.
d) Search for and select the report created earlier. Now you can customize the data extensions that are automatically generated and populated with report data.
Make sure that:
- At least one column has the Key checkbox checked
- At most one column is of type Email Address
e) Click the Save Config button. You should land back on the Create Import screen. The Source section will indicate the report.
f) In the Import Action Settings, choose Overwrite in the Update Type field.
g) In the Import Completion Settings, enter your email address to receive a notification once the import is complete. Click Save.
Step 3: Verify Your Data Extension Results
To ensure that you have correctly built and stored your data extension in SFMC, select the Salesforce Data Extensions menu in the Subscribers menu. You should see a data extension by the same name as your import name. If you plan to create many audience segments – which you probably will – make sure you organize your folder system with sub-folders.
If your import was successful, your data extension should show the expected number of records in the Record Count column. Now, your initial audience segmentation is done!
Step 4: Import Contact Owner Data into a Marketing Cloud Data Extension
This step will ensure that each subscriber receives the email from a specific contact. It will also add personalization to the email.
Based on a User report, another data extension will be built containing relevant user data. Move the resulting data extension into the same folder as the previous data extension.
Step 5: Combine the Data Extensions (includes a Query Activity)
This is a somewhat technical step so you should rope in an SQL developer for help (unless you’re SQL-savvy!)
a) Create a target data extension to store the results. Make sure it contains as many fields with the same data type and lengths as the source fields from the two data extensions you’re combining.
b) Create Query Activity to bring together all the data points from the user record and merge them with targeted data points from the contact record.
c) Select a target data extension (step 5a) in the Target section. Select Overwrite as the Update type. Click Save and return to the list of query activities. Select the activity just created. Click Start to run the query.
Return to your data extensions to make sure it has populated the target data extension.
Step 6: Filter out specific senders and their contacts
a) Create a data filter (see previous section).
b) Create a filter activity to use this filter.
c) When run, this activity creates a data extension by the name specified in the Result Data Extension Name field and populates it with the filtered data. Run this activity. Navigate to the appropriate data extension to see your results.
Your Salesforce customer segmentation in SFMC for the personalization detail ‘Birthday’ is ready! In future, new contacts added to the database who fulfill the criteria you have already outlined will be automatically filtered into this list.
5 Common Ways to Segment Your Audience (includes Segmentation Best Practices!)
Here are 5 important segments that every email marketing manager should create in SFMC. We have included some best practices to make your job easier. You’re welcome!
#1: New users/Welcome
Create a segment for customers who have subscribed to or interacted with your emails for the first time. You can also add those who have bought something from you for the first time to this segment.
Send these first-timers a personalized Welcome email. Make sure the message is warm with a non-pushy CTA.
#2: Converted Users/Upsell
Upselling to converted users is a great way to grow your business and brand equity. To target this audience, create a segment of subscribers who bought something recently. Emails with special or limited-time offers, reward points and loyalty programs are a great way to do this.
You can also create a segment of users who bought something a while ago with ‘re-engagement’ emails.
#3: Loyal Customers/Convert into ‘advocates’ and ‘super fans’
Create a segment of ‘power users’: users who purchase often or engage more frequently with your emails. Let them know they’re appreciated, and encourage them to spread the word about your brand.
You can also send them referral emails.
#4: Active Customers/Monetize
Create a separate segment for active users who engage with your emails a lot, but also frequently abandon their purchases. Send them ‘abandoned cart’ emails with personalized recommendations or discounts based on their activity history. With these emails, you can either convert or upsell.
BONUS Best Practice: Keep users engaged to improve your segmentation!
In addition to the best practices highlighted above, here’s one that you should always keep in mind. Segmentation is not a one-time only activity, neither will it be perfected on Day One. Once you create segments and launch your email campaigns, make sure you do everything to keep your subscribers engaged. Get to know them better and tweak your segments as required.
Wrap up
If you want to impress your audience with your email marketing campaigns, you will need more than just catchy headlines, nifty graphics or sweet offers. You will also need to understand them better and create campaigns that appeal to them personally. Will these headlines, graphics and offers matter to them? This is the question audience segmentation can help you answer. SFMC makes it possible to create targeted and meaningful email campaigns based on high-quality segmentation data. The effort may require a few iterations but you will soon see that it’s totally worth it!


Kevin George
Latest posts by Kevin George (see all)
5 Stunning Ways to Add Interactivity To Your Holiday Emails
How to Leverage CRM Email Marketing During The Busy Holiday Season