
In email marketing, dynamic email is part of email personalization. A dynamic email allows marketers to display dynamically changing parts of an email to different segments of the audience. Only a specific segment will see the personalized message in an email. The rest will see the same email content, images, and CTAs but no personalized message.
In this guide, we will show you how to create a Klaviyo dynamic email in the context of the following models:
- How to add “First-name” personalization in Klaviyo
- How to build dynamic blocks in a cart abandonment email
- How to add dynamic images to an email
- How to dynamically show/hide template blocks in Klaviyo
To begin with, let’s explore how to implement “first-name” personalization in Klaviyo.
Inserting First Name Property into Emails
Follow these steps to add a variable that will dynamically populate a recipient’s first name. (Note that the process is the same for messages and push notifications.)
- Log in to your Klaviyo account. Open an email.
- Click Add Personalization in the text block, as shown below.
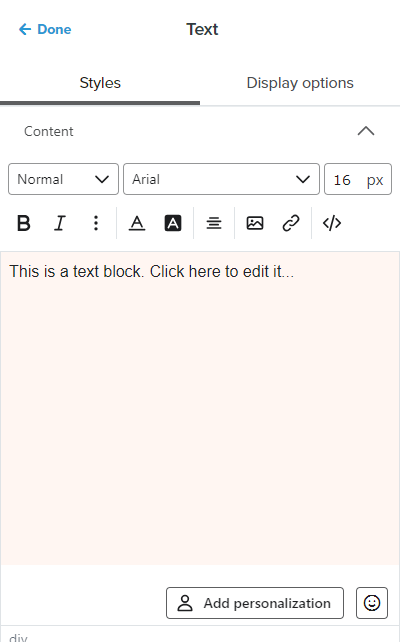
- Select First Name from the list. Then, click Insert.

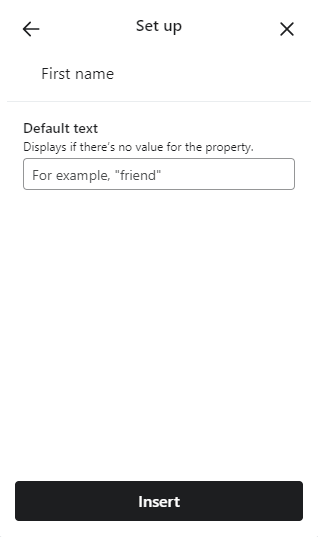
On clicking Insert, you should see this tag: {{ first_name|default:’there’ }}.
On sending the email, the tag will be replaced with the concerned recipient’s first name.
Note that Klaviyo also offers you the option to customize the first name variable. Next, we will see how to implement Klaviyo dynamic content.
Building Dynamic Blocks in A Flow Email
In this section, we will learn how to create a dynamic block for a cart abandonment reminder email. First, create your flow by following these steps:

- In the Klaviyo dashboard, go to the Flows tab on the left and click Create Flow.
- Click Create from Scratch. Enter a name for your flow and click Create Flow.
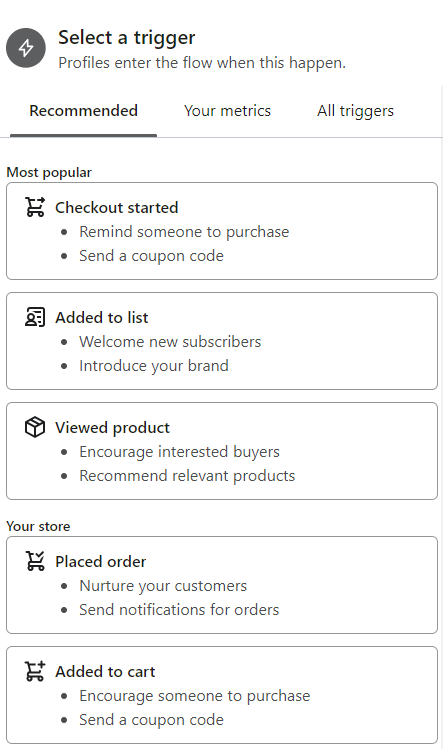
- Click Metric under Trigger setup. For a cart abandonment email, we will use the Checkout Started event, as shown in the following screenshot.
- Click Done, and drag and drop an Email Action into the flow.
Having created a flow from scratch, in the following steps, we show how you add a dynamic table to the email block you added to your flow:
- Click Configure Content, then click Drag and Drop, and choose a template.
- Now, drag a table block to the email template. Note that, at this point, the table is static.
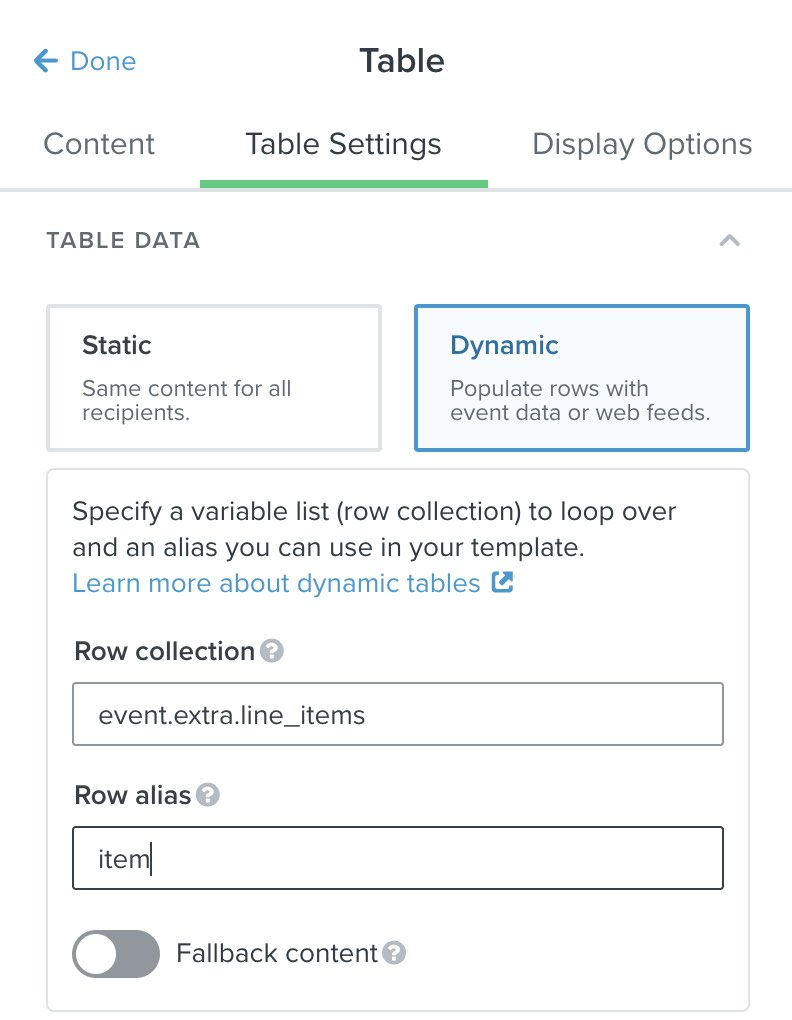
- Convert the table into a dynamic block by navigating to Table Settings.
- Select Dynamic. Your table is now a dynamic block.
Next, we will identify the row collection and select a row alias. First, you need to find the name of your array. (In Klaviyo, a list is a data type that contains an array of values):
- Click Preview and Test in the upper right corner of the Klaviyo dashboard.
- Click Event. Select the Checkout Started event.
- Now, go over the Preview data and find out the relevant array, as shown below.

For this example, the two arrays are Items and line_items, as shown below. The Items array lists the name of each item, whereas the line_items includes additional details about a particular item, such as name, image URL, price, vendor, stock-keeping unit, etc.
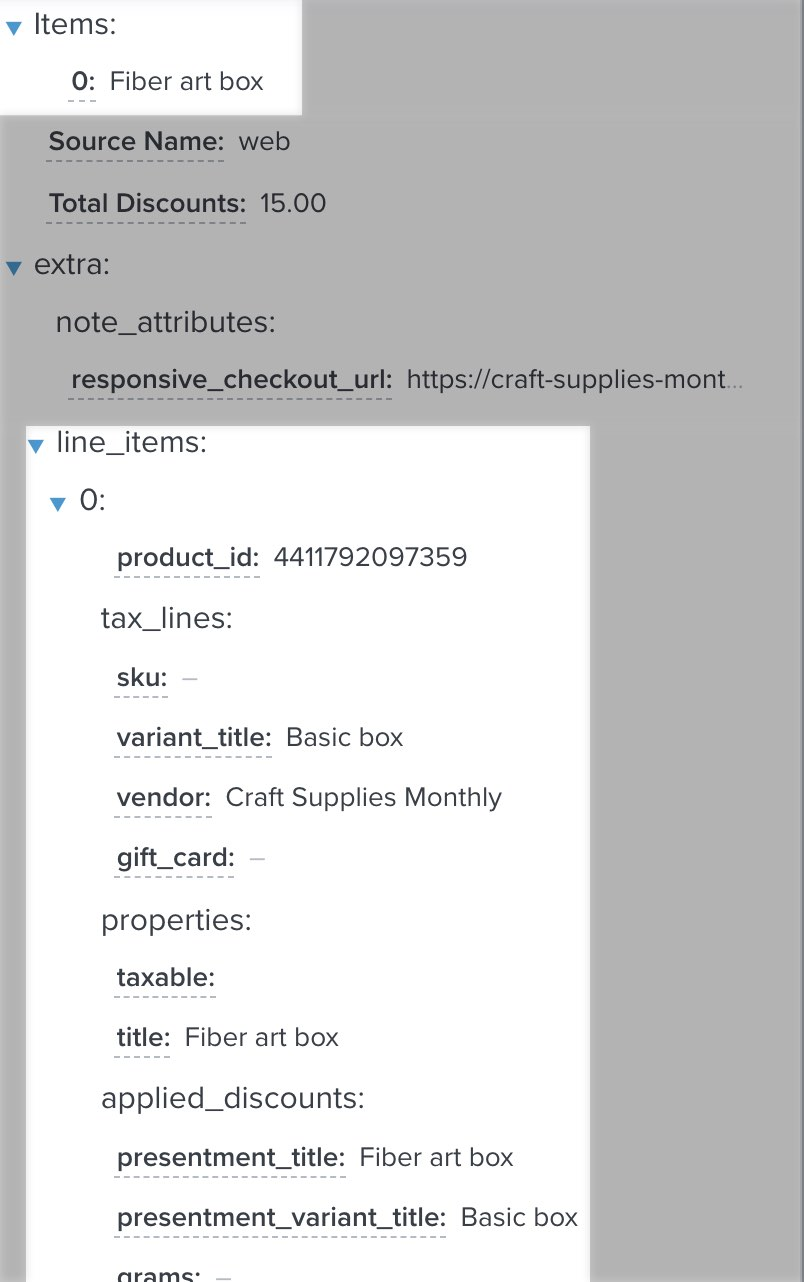
Now, you choose a row alias. The point of using a row alias is to identify variables that need to be pulled from your arrays. In the present example, the dynamic table block lists the items in the customer’s abandoned cart. Accordingly, you can use the “item” alias.
You want to choose an alias that is simple, descriptive, and easy to remember. That done, we will now add dynamic product details. Follow these steps to add the product title:
- Go to one of the table’s columns and paste this event variable: {{ event.extra.line_items.0.title }}
- Convert the above event variable to this: {{ item.title }}. So, you are basically replacing the text used for the Row Collection with the newly-created alias.
- Preview the email to check if the title of the item displays correctly.
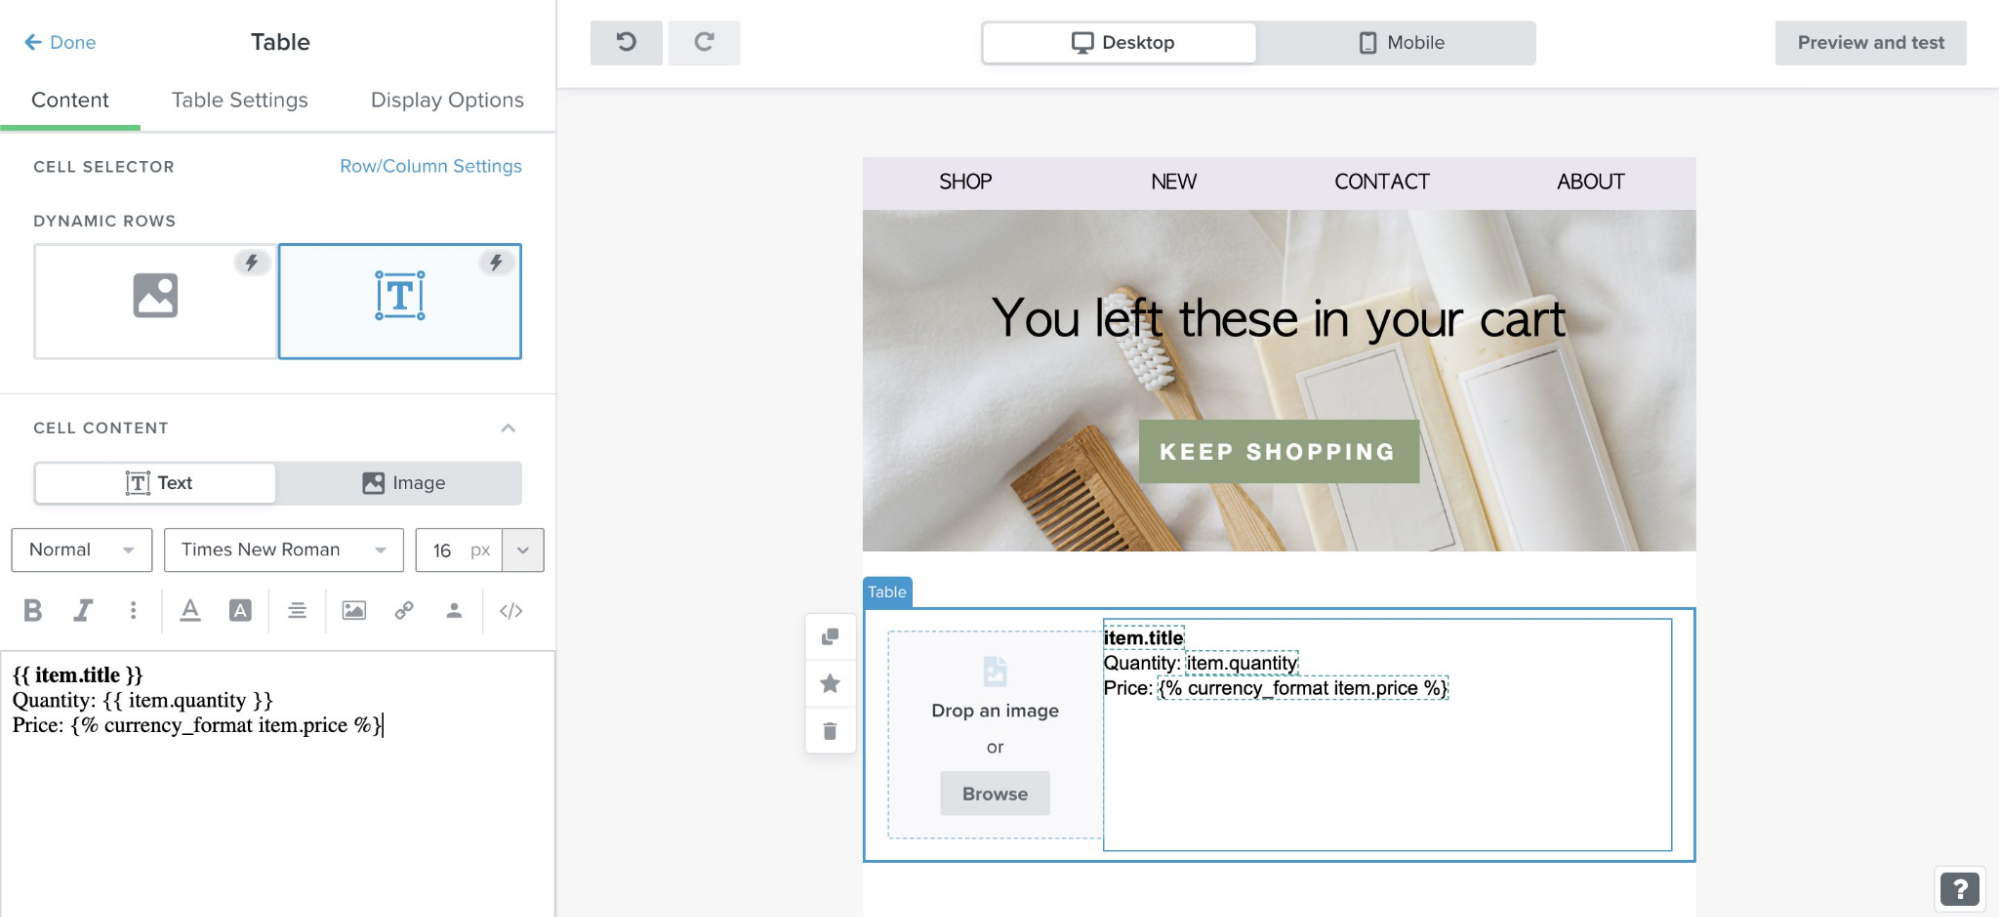
Similarly, you can add product URL variables, currency variables, and so on.
Adding A Dynamic Image in An Email
With the help of dynamic images, you can customize emails for each recipient on the basis of their profile data stored within Klaviyo or their event data. For leveraging Klaviyo integrations First, you need to store dynamic image information in Klaviyo, after which you can add it through the following steps:
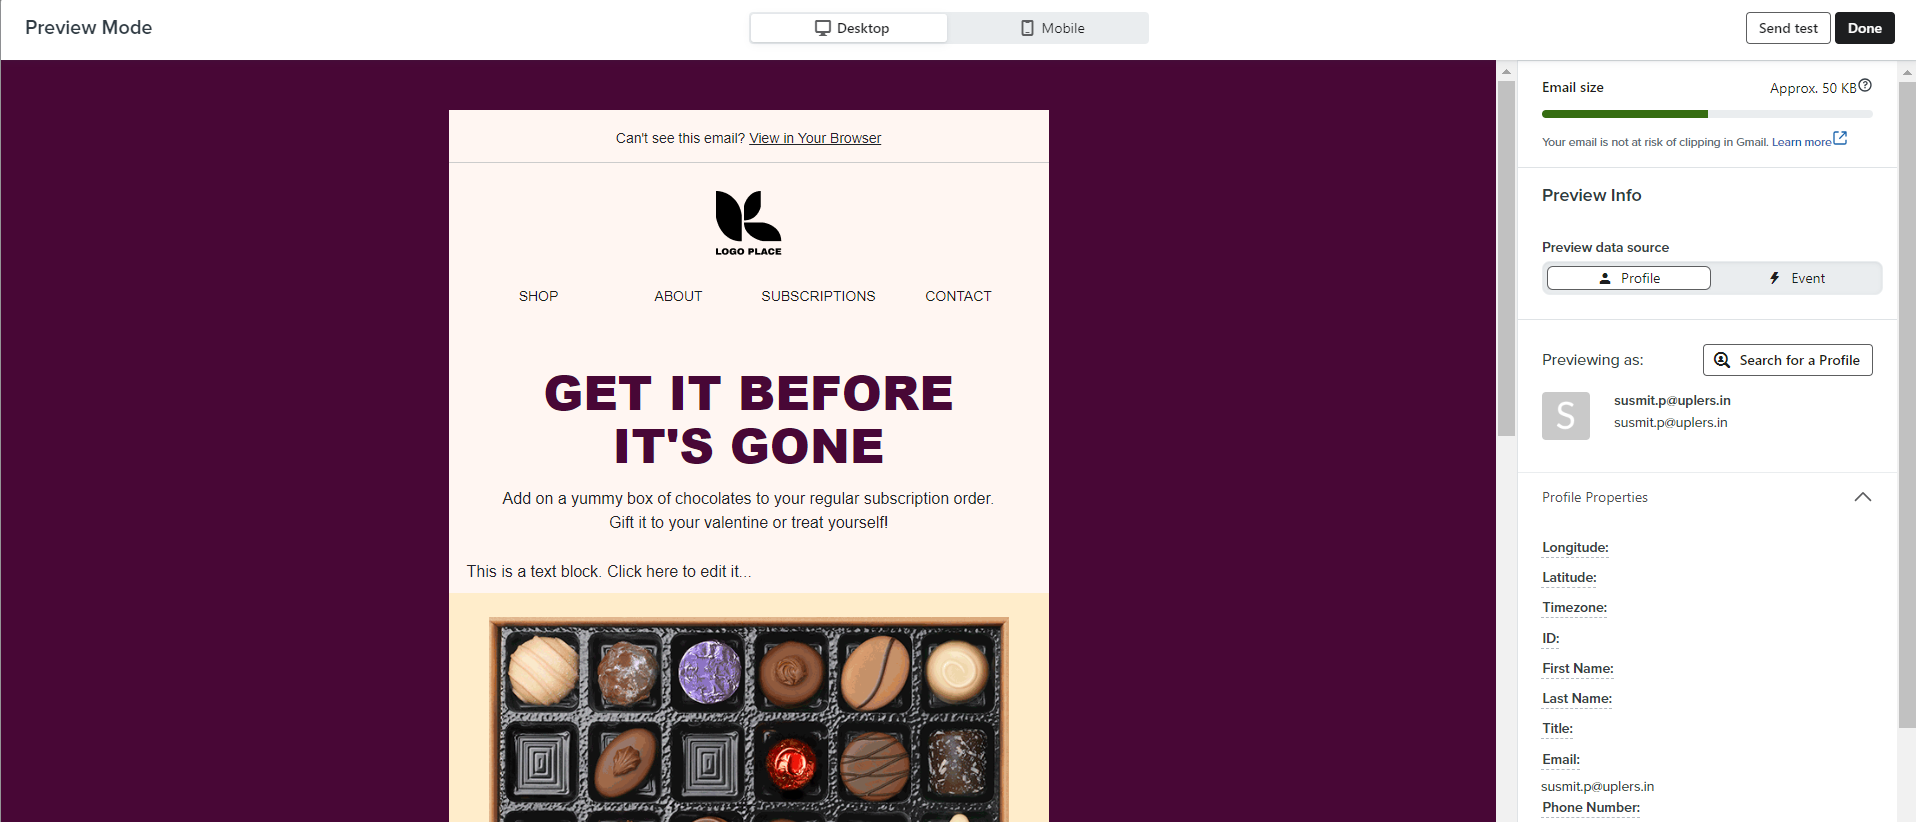
- Open the email template where you want to add the dynamic image.
- Now click Preview and Test. You should see something like the following. Click Search for a Profile if you have stored the image as a custom property, or Click Event if the image variable is stored within an event’s data.
- Copy your tag, and drag an image block to the email template.
- Click Browse, and select Dynamic Image. Now paste the tag you copied in the last step into the Dynamic variable or Dynamic URL field, as shown below.
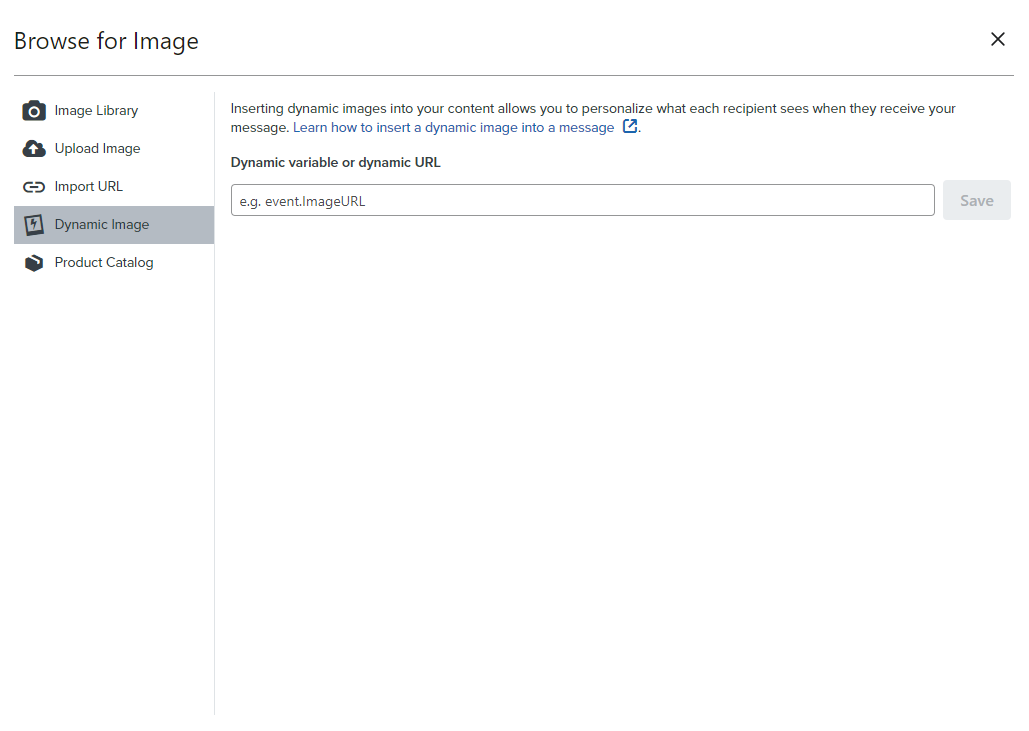
- Click Save. As always, preview your email to see if the tag is working fine.
Displaying or Hiding Template Blocks
In this section, we will learn how to show template blocks only to a certain number of email recipients. There are two ways of implementing this: through profile data and through event data. First, let’s see how to implement it with the help of a recipient’s profile data.
We will apply conditional logic to show or hide template blocks:
- Select the Add Personalization option.
- Choose an option from the dropdown to add it to the text block in the template.
- Now, choose the variable name from within the tag. In the following example, the complete tag is {{ person|lookup:”Likes Promotion”|default:”” }. But the variable name is person|lookup:”Likes Promotion.” You must choose the variable name, not the full tag, to use in your condition.

Now, we will implement the same conditional logic with the help of event data. Follow these steps:
- Go to the template editor. Click Preview and Test.
- Click Event under Preview Data Source. Select the event from the dropdown menu that will trigger the email.
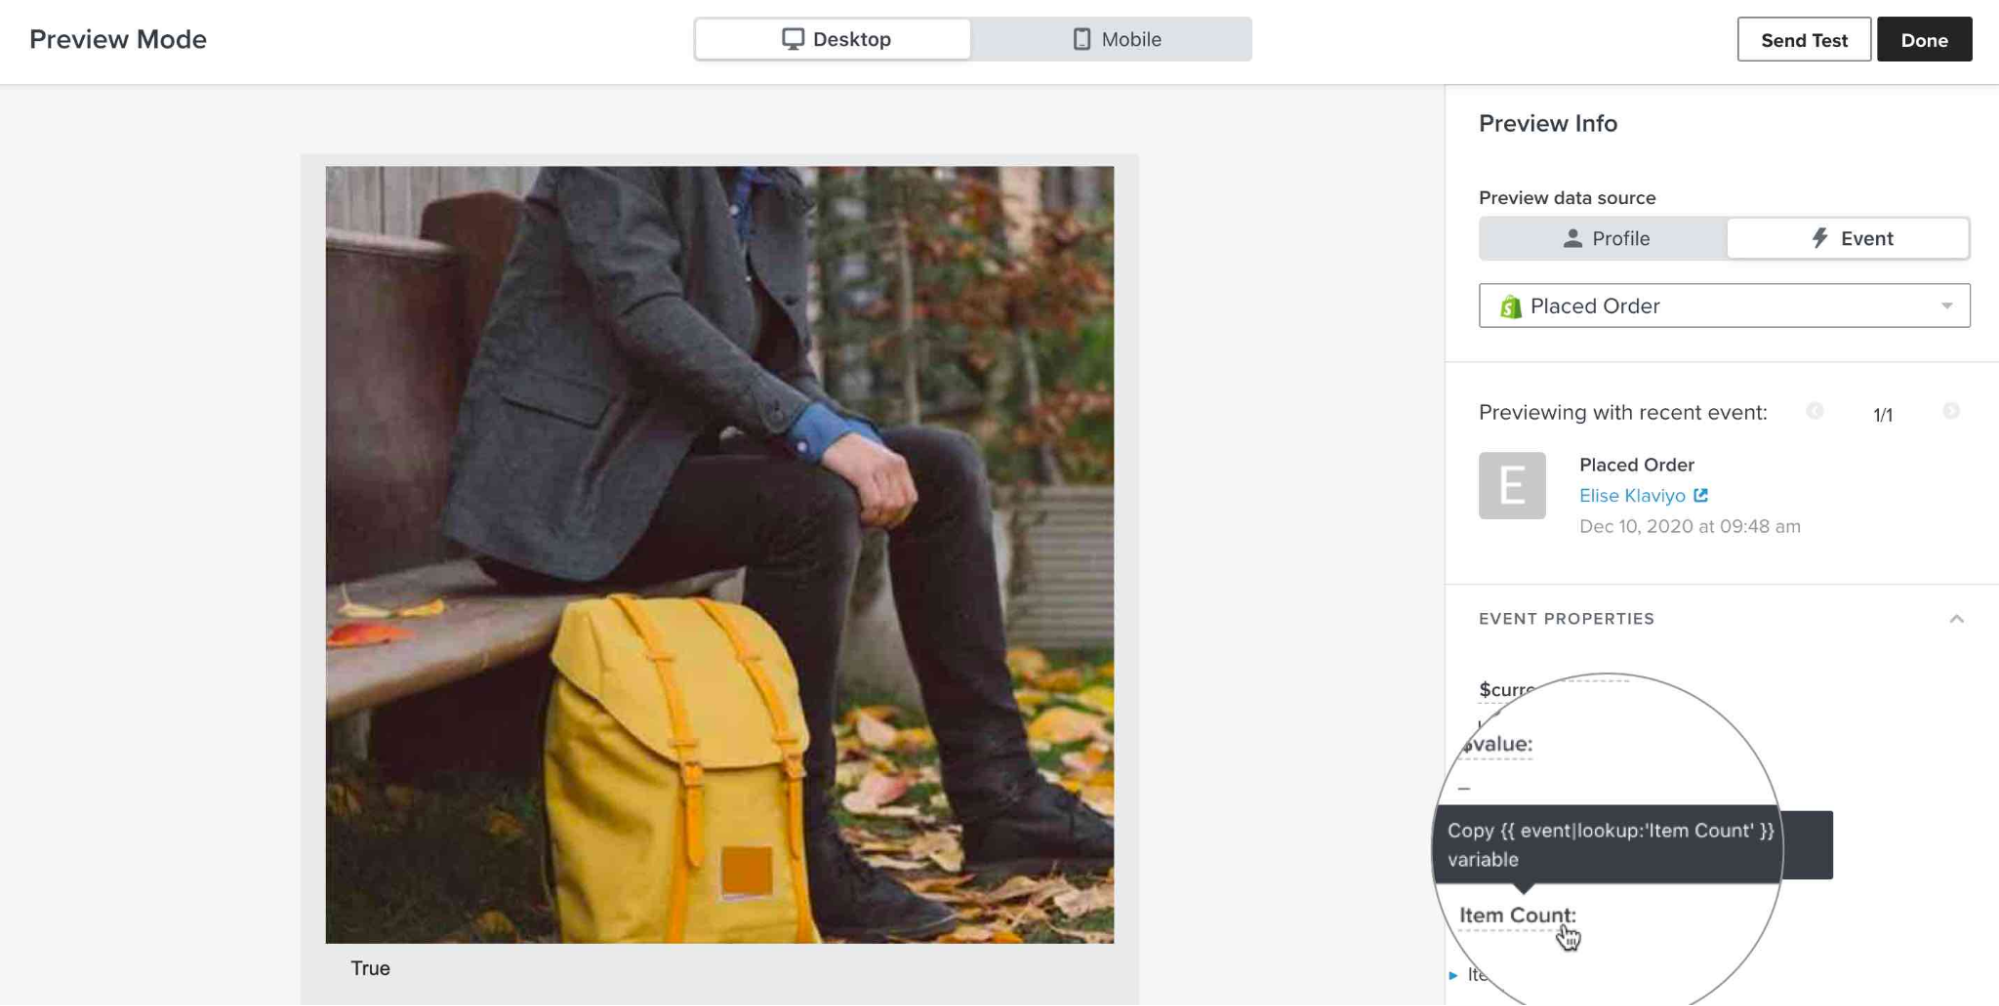
- In the Event Properties dropdown, find the data you’d like to include.
- Click the Property name, copy the tag, and paste it into the text block of the template.
- Extract the variable from the tag to use it for your condition, as shown in the following Klaviyo email example.
Wrapping Up!
Personalization is one of the defining aspects of email marketing. Klaviyo’s dynamic email features help you send the right message to the right people at scale.
Navigating Klaviyo is not particularly difficult. The platform is easy to use and intuitive. Designed exclusively for e-commerce retailers, Klaviyo is ideal for building personalized email campaigns for your audience base.
Susmit Panda
Latest posts by Susmit Panda (see all)
8 Best Practices for Email Marketing for Fintech
How to Achieve And Maintain Brand Consistency in Email Marketing: Tips And Examples