
From email creation to automation to analytics, Marketo covers the whole gamut of email marketing, making it one of the most popular CRM tools out there.
Ever since its makeover seven years ago, Marketo Email Editor has helped businesses employ email for marketing in a more dynamic way. In this post, we will explore the various functionalities of Marketo Email Editor, starting with modules.
Incidentally, if you are looking to switch to Marketo, get in touch with our Marketo-certified migration specialists for a hassle-free transition.
Table of content:
- Adding Modules
- Creating an Email Template
- Editing Emails
- Forward to a Friend Link
- Adding a Calendar Event
- Operational Emails
- Creating Dynamic Content
- Previewing Dynamic Content
- Downloading and Editing Email HTML
- Adding Tracked Links
1. Adding Modules via Marketo Email Editor
In Marketo, a module refers to a section of your email that is defined within a particular template. Follow these steps to add modules in the Email Editor.
- First, create an email. Make sure to choose a template that contains modules. (We will look at the Editor’s Template Picker in more detail in just a while.)
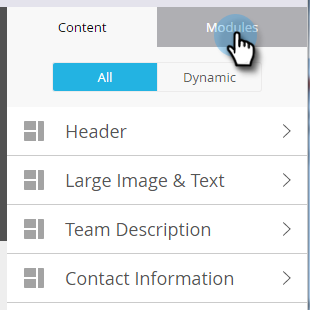
- Now, click Modules on the right-hand side of the email as shown in the image below.
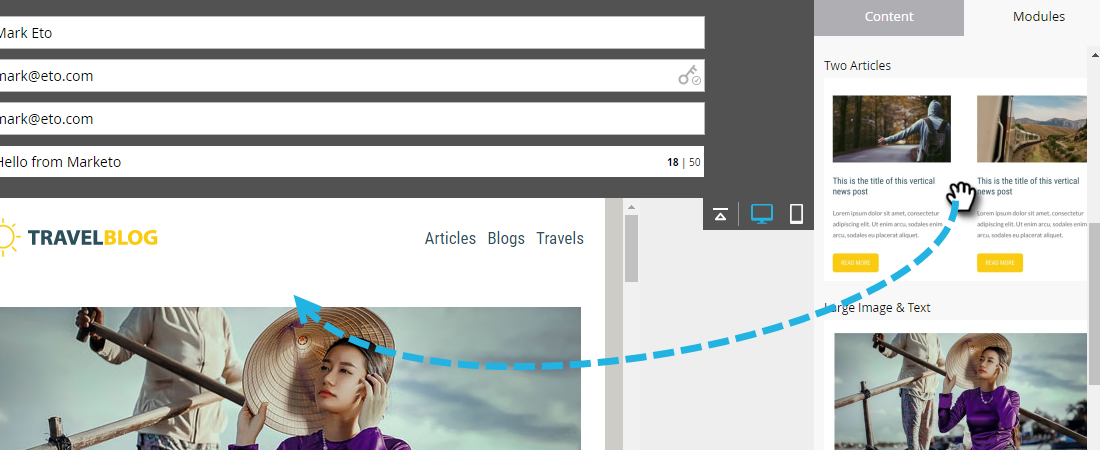
- Now choose the module you wish to add and then drag it over to the email as shown.Now choose the module you wish to add and then drag it over to the email as shown.
- You will notice a Drop Here option as you drag the new module over to your email. Drop the module where you want it to appear.
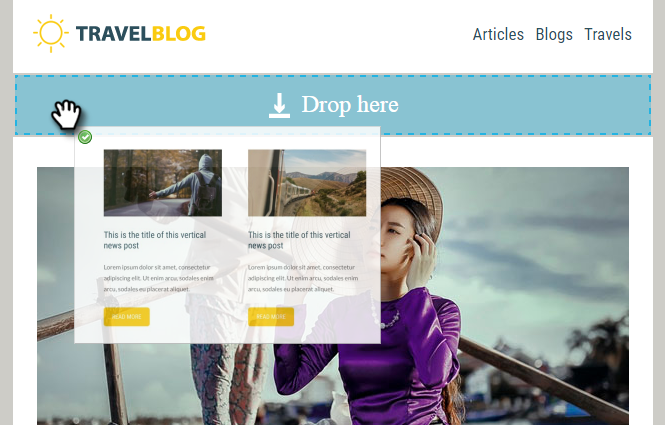
- Having dropped the new module, wait for a few seconds for the email to auto-refresh, following which it will display the updated look.
Now, the Email Editor also gives you the option to move your module within your email. This means that you don’t have to drag a new module each time you want to modify placement.
There are two ways of moving a module within your email. You can either hover over the module and then drag it over to the desired place, or you can select the module to be moved, click the subsequent gear icon, and choose between Move up and Move down.
2. Creating An Email Template in Marketo Email Editor
Before we look at how to create a new template in the Email Editor, one important point: do not use camel case since the Editor converts color values and CSS properties to lowercase.
Now, follow these steps to create a new template in Marketo Editor:
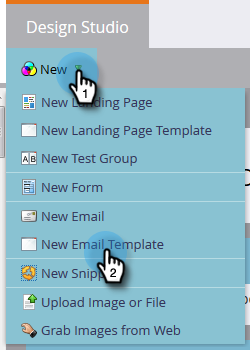
- Click Design Studio and then click New. The dropdown should reveal the New Email Template option as shown below. Click on it.
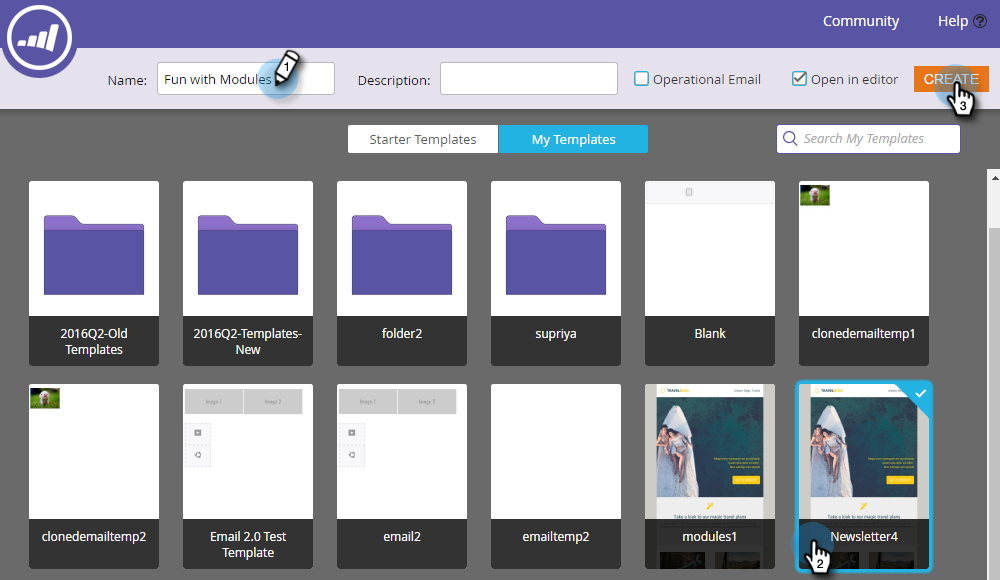
- When you are creating a new template, Marketo Email Editor gives you a number of free templates to choose from, thanks to its new Email Template Picker.
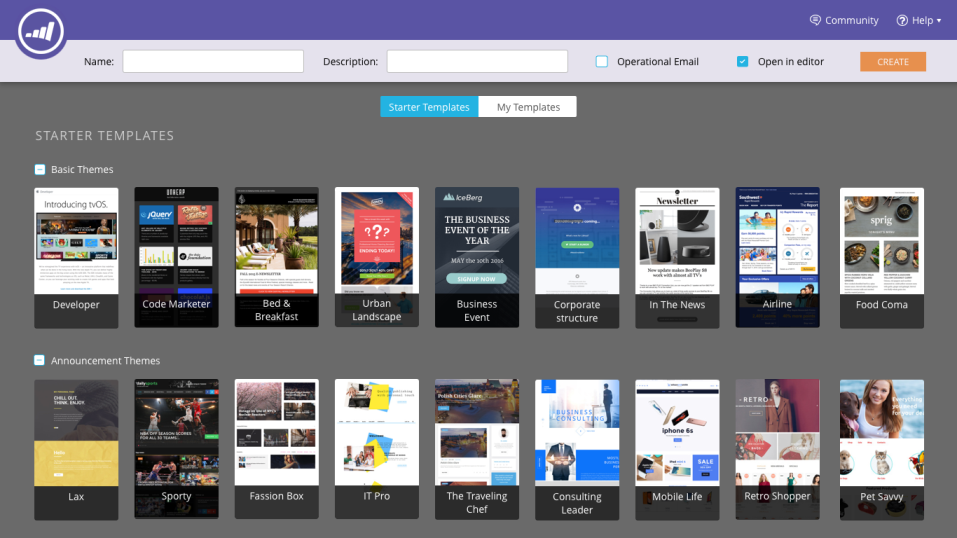
- Go to Starter Templates if you want a pre-built, responsive template. Or you can choose My Templates if you would like to use your own templates.
- You can also preview each template and it will show you how the template will render on desktop and mobile.
- You can use template thumbnails which are live. This allows the thumbnail to change in tandem with any changes you make in the template.
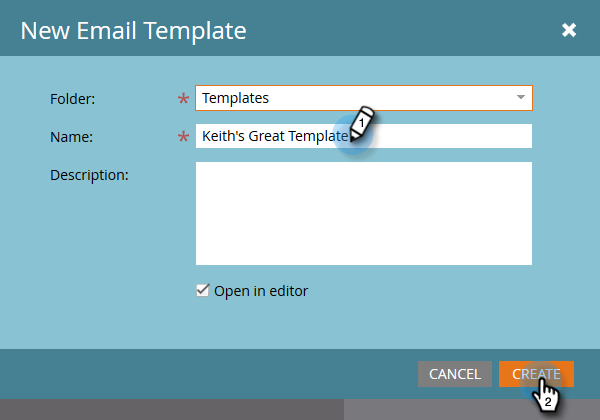
- Once you choose a template, enter a suitable name for it and then click Create. (Follow widely accepted naming conventions for easy retention and immediate recognition.)
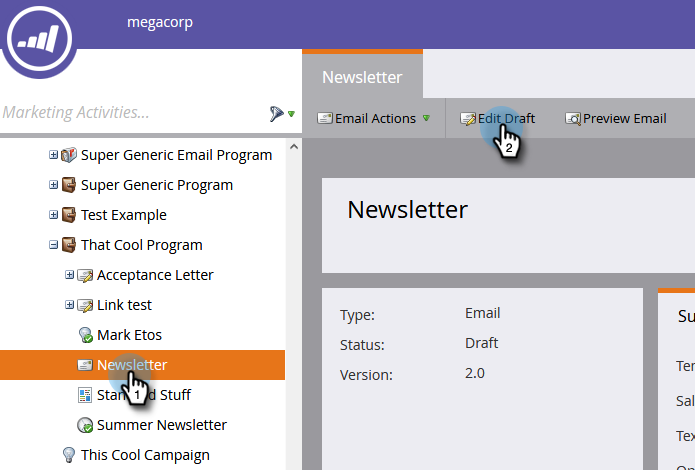
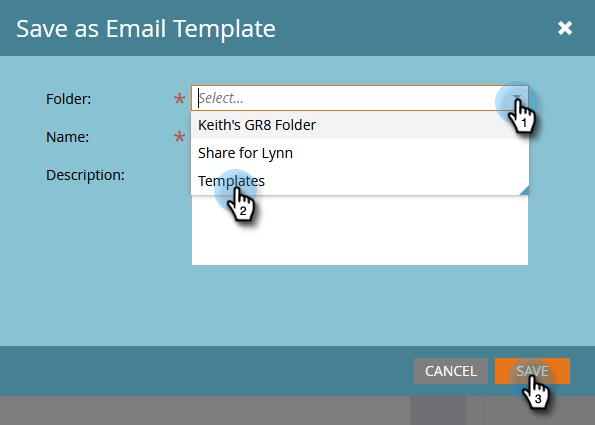
- You can also save an email as a template for future use. For that, first click Marketing Activities (next to Design Studio). Select an email and then click Edit Draft as shown below.
- Next, go to Email Actions (next to Edit Draft as shown above) and select Save as Template on the drop down menu.
- In the dialog box that appears, click the Folder option and choose where you want to save the template, then click Save.

3. Editing Emails in Marketo Email Editor
Marketo allows you to edit rich text, snippets, images, and videos in an email. It is very easy to edit these four elements within the Editor. Just follow these steps:
- Select your email and click Edit Draft to open the Email Editor.
- Select the rich text/snippet/image/video, click the gear icon, and select Edit.
- For rich text, edit the text and click Save.
For images, you will be taken to the Image Editor; choose from where you want to import the new image (Design Studio, My Computer, or External URL). That done, press Swap.
For snippets, find your new snippet and add it in the Insert Snippet dialog box. Likewise for adding video. Just paste the video URL in the Insert Video dialog box. Finally, click the Insert option. And you are good to go!
You can learn how to edit rich text, snippets, images, and videos through screenshot illustrations right here.
4. ‘Forward to A Friend Link’ in Marketo Email Editor
Now we come to the various default functions within the Email Editor, the first of which is the Forward to a Friend Link option. Adding this to your email enables you to track people who have received a forwarded message via this link.
If the recipients are not on your list, they are added automatically. Follow these steps to add the Forward to a Friend Link:
- Go to Design Studio. Select the email you want to add the link to, then click Edit Draft.
- Now add this HTML code where you want the link to appear:
<pre data-theme=”Confluence”><a href=”{{system.forwardToFriendLink}}”>Forward to Friend</a></pre>
- (You can preview the template by clicking Preview Draft.) The HTML code ensures that all the emails that use this template will have the link option.
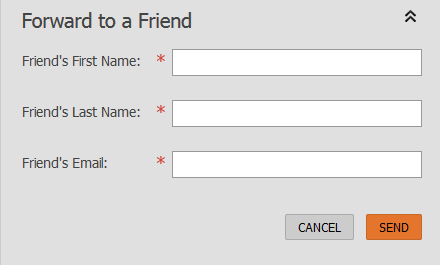
When a recipient clicks the link, they will be redirected to the web version of the email with a Forward to a Friend dialog box as shown below.
You can also add the Forward to a Friend link to an individual email.
5. Adding A Calendar Event in Marketo Email Editor
You can add a calendar event in your email. First, you need to create a calendar event file (.ics) and then follow these steps to add the event:
- Click where you want the calendar token to go, then click Insert Token. You should see the following dialog box.
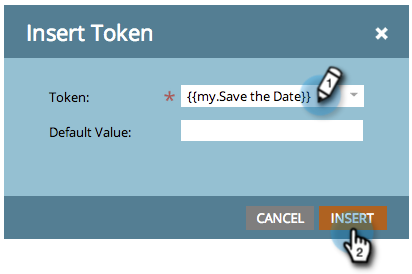
- Insert the token and click Save.
Next, we look at how to make an email operational.
6. Operational Emails in Marketo Email Editor
An operational email is intended to share an important message with customers. Follow these steps to make an email operational in the Editor.
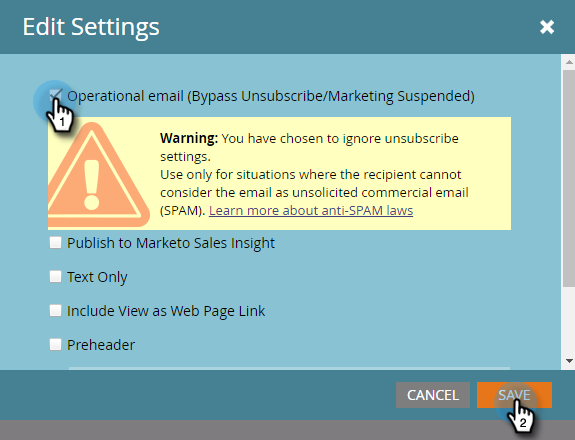
- Open the email you want to make operational and click Edit Draft.
- The Editor opens. Now click the Email Settings option.
- Choose the Operational email option in the Edit Settings dialog box and click Save.
7. Create Dynamic Content in Marketo Email Editor
Before you create dynamic emails, you need to create a segmentation. Adding it is the first step to create a dynamic email in the Editor:
- Go to Marketing Activities, select your email, and then click Edit Draft.
- Suppose you want to make the subject line dynamic. Just click inside the Subject field, and then select the Make Dynamic button on the far right as shown below.

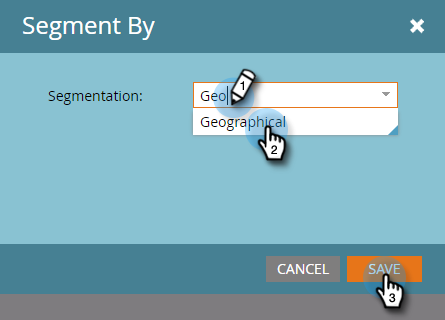
- Next, in the Segment by dialog box, enter a name for your segmentation, and click Save.
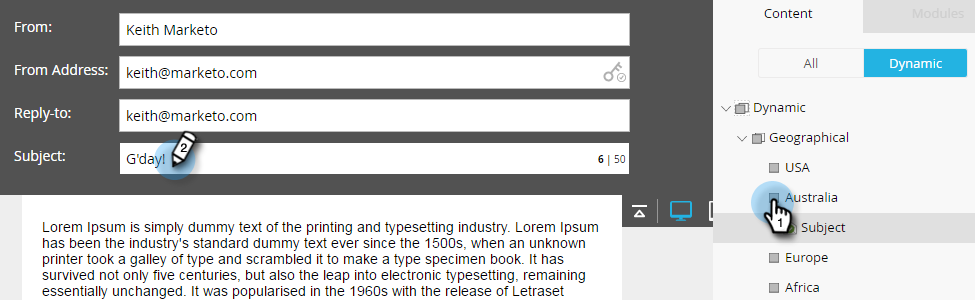
- Now, in order to apply dynamic content, click the segment just created and add your subject line. Repeat the process for each of your segments and you’re done.
8. Preview Dynamic Content in Marketo Email Editor
Given the nature of dynamic emails, you should always preview one before sending it out to your contacts. Follow these steps to preview dynamic email in the Editor:
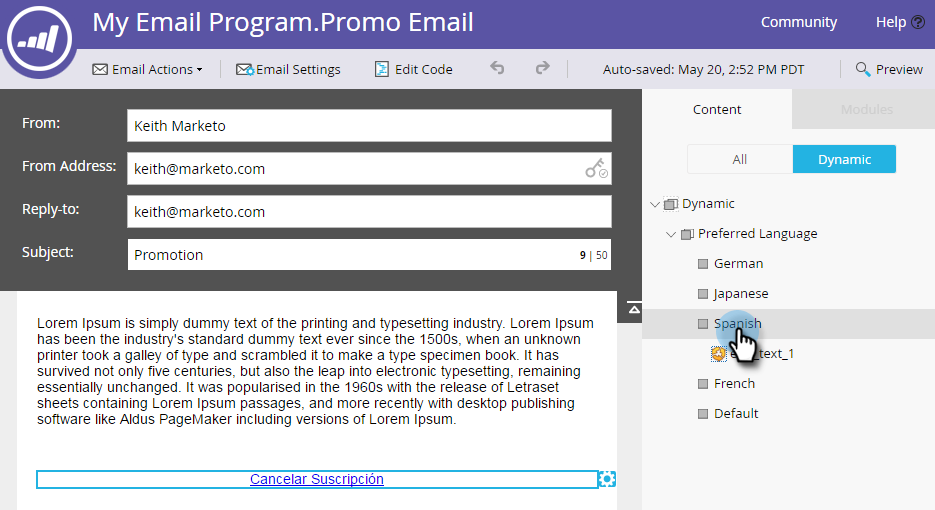
- Select your dynamic email. Go to the Content tab and choose the Dynamic option.
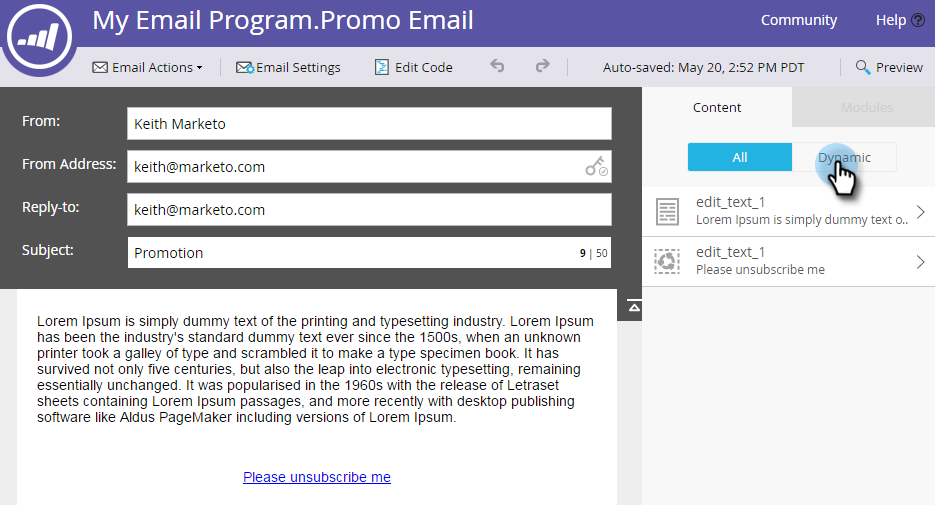
- Choose the content you want to preview on the Dynamic dropdown as shown below.

9. Download And Edit an Email HTML in Marketo Editor
Downloading an email’s HTML in Marketo is a one-step process. Just select the email, go to Email Actions, and click Download HTML. That’s all!
When you need to edit an email’s HTML, follow these steps:
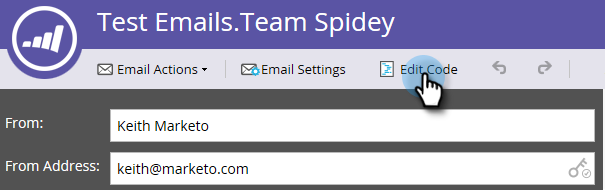
- Select the email and click Edit Draft. Then click Edit Code as shown in the screenshot.
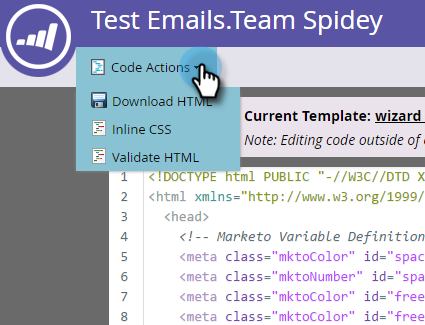
- Make the necessary changes and when done, click Save. Next, select the Code Actions option and download the code as an .html file.
10. Add Tracked Links in Marketo Email Editor
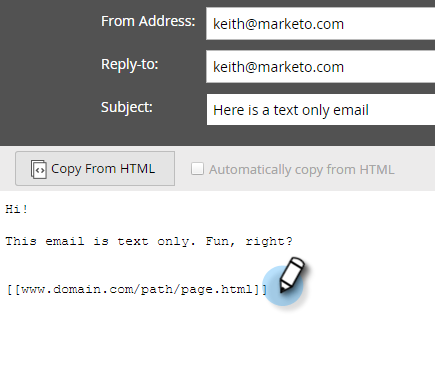
Marketo allows you to track text email links. If you have created a text-only email and now want to track links, follow these steps:
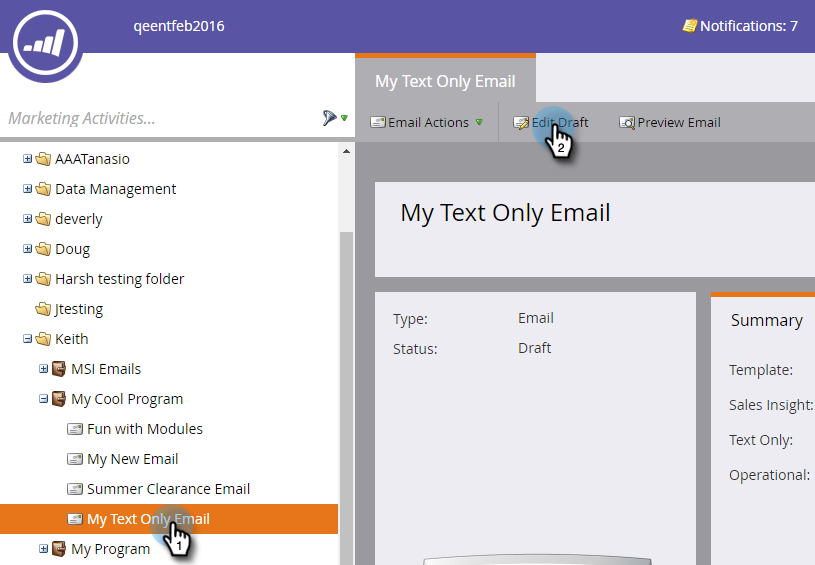
- Select your text-only email and click Edit Draft as shown in the following screenshot.
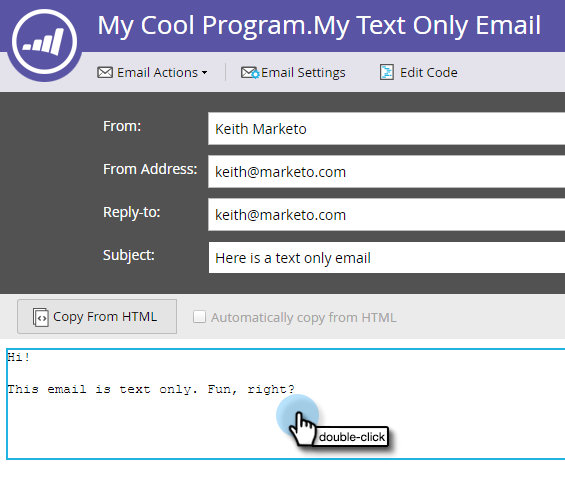
- Now double-click the area where you want to add the link as shown below.
- Enter the URL within double brackets as shown in the screenshot. That done, close the Editor and approve the draft.
That’s A Wrap!
Marketo Email Editor combines capability and flexibility to realize a brand of email marketing that is driven as much by human vision as by technological efficacy. The result inevitably is progressive, persuasive engagement with the target demographic, leading to better, more qualified customer relationships.
Susmit Panda
Latest posts by Susmit Panda (see all)
60 Most Effective Father’s Day Email Subject Lines
How to Leverage Email Segmentation to Maintain Customer Relationship?